Skip to content
 solar battery lights use a battery to store energy from the solar light panel. If the battery is weak, the light may be dim, run for a short time, or stop working. replacing battery in solar lights can often restore normal runtime. But you must choose the right battery and install it safely.
This guide is written for solar street light systems used on roads, communities, parking areas, and projects. The steps are simple and practical.
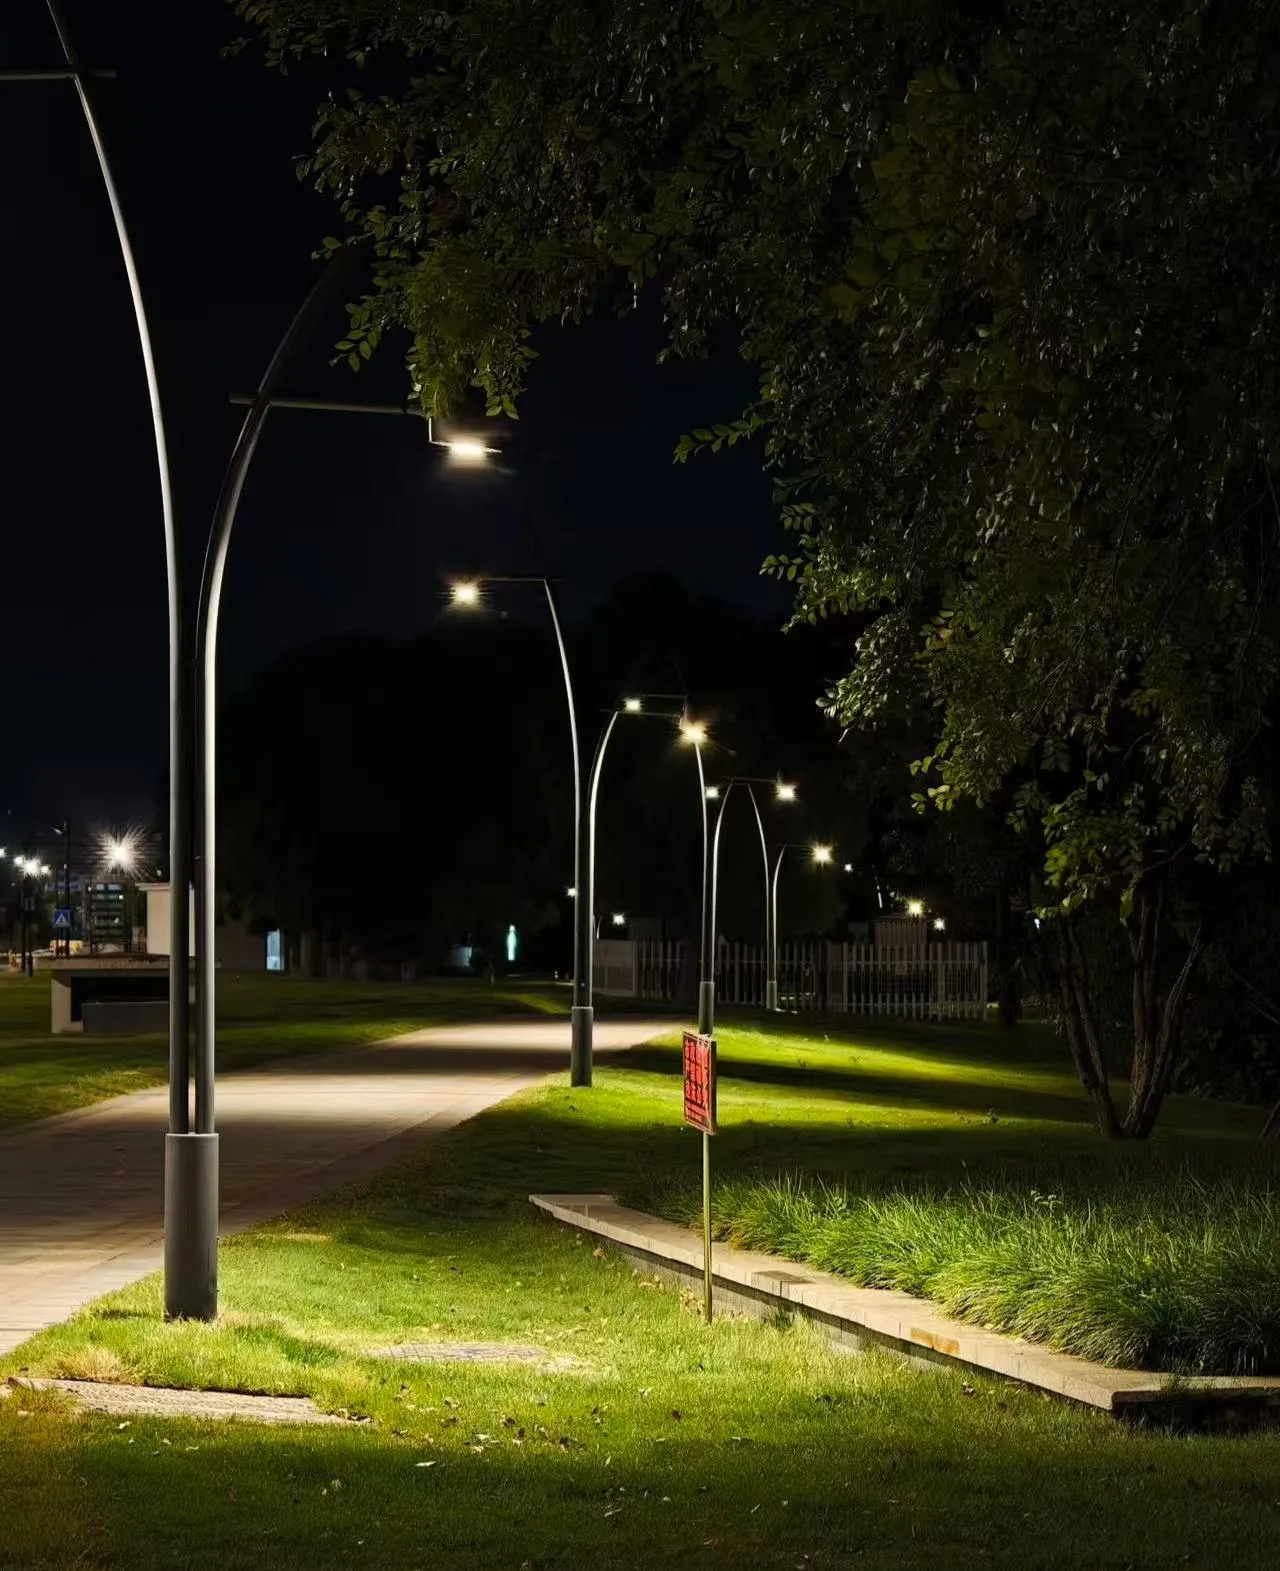
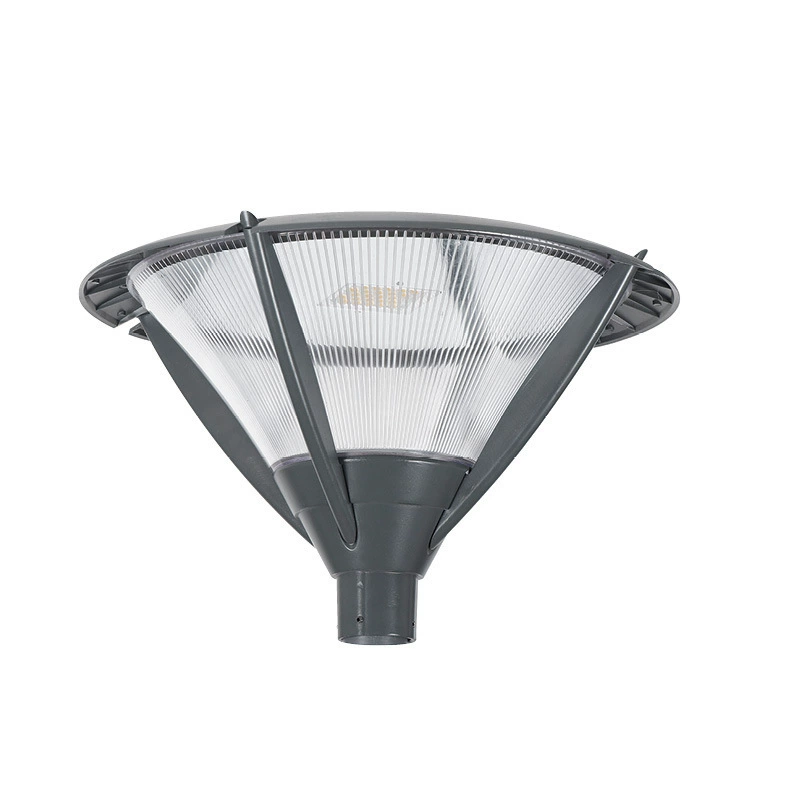
Do Solar Street Lights Have Batteries?
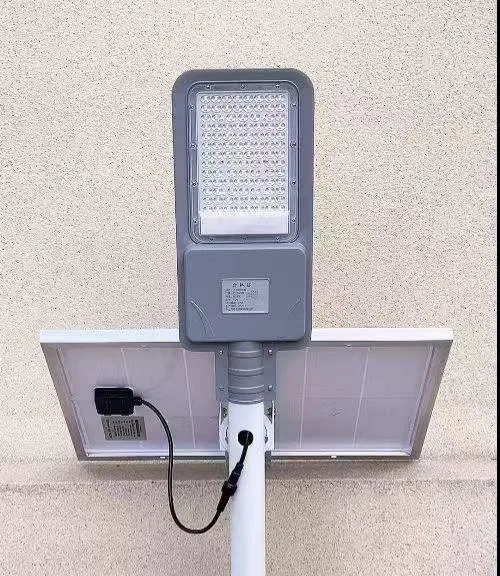
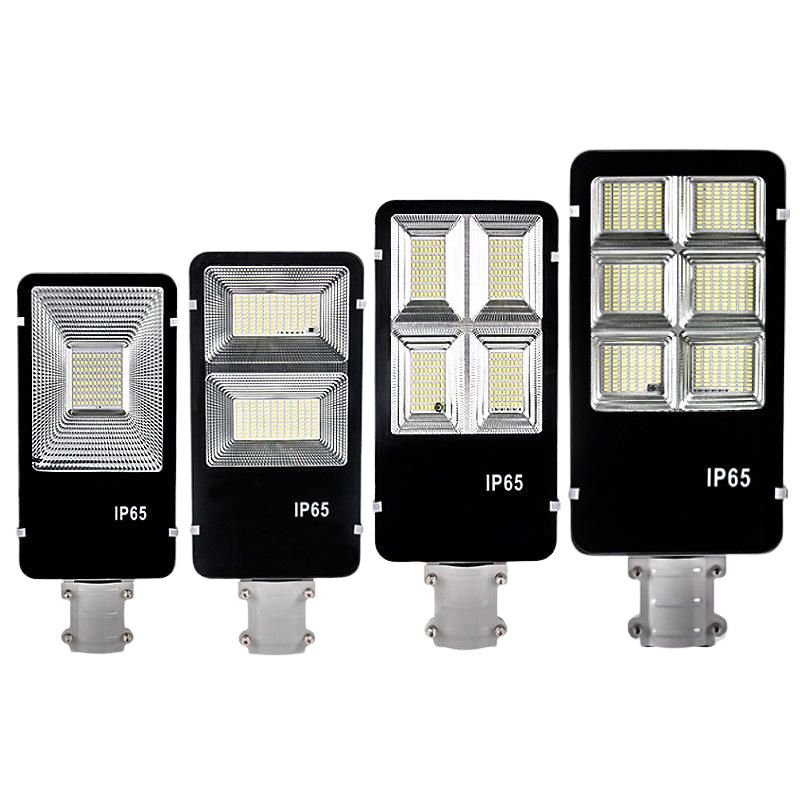
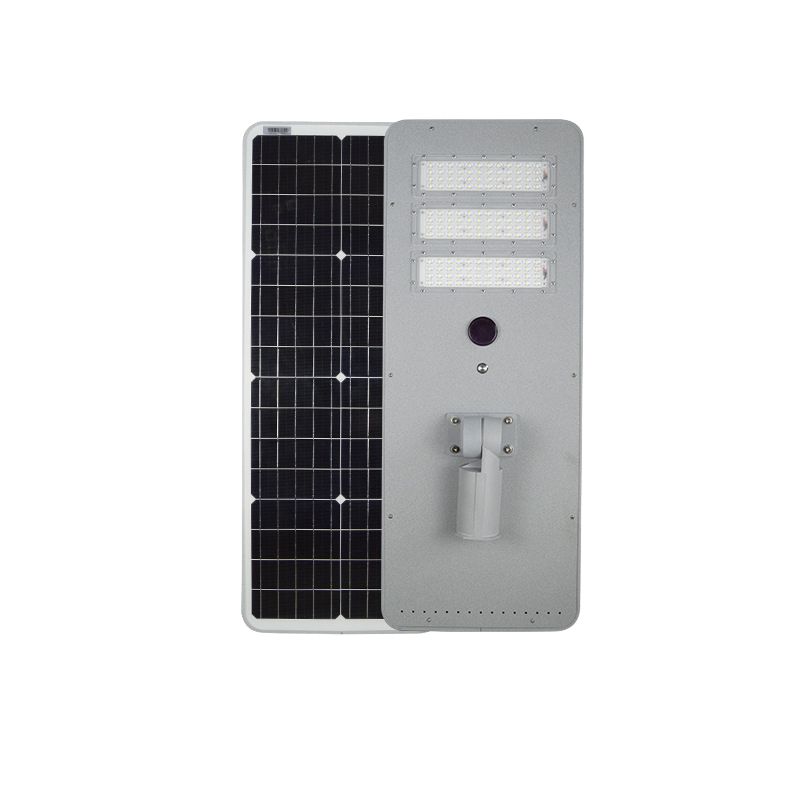
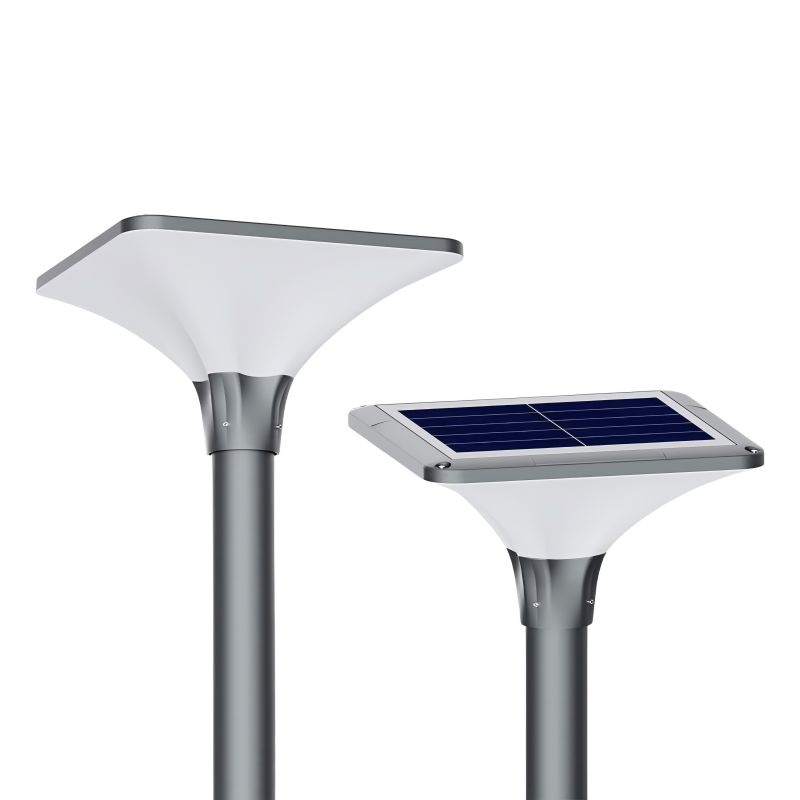
Yes. A solar street light is usually a complete system. It includes a solar light panel that charges during the day, a battery for solar powered lights that stores power, a controller that manages charging and discharging, and an LED lamp that uses the stored power at night. It also includes the pole and mounting brackets. Most solar street lights use a battery box, which may be on the pole, inside the pole, or under the solar panel. Many models allow you to solar light battery replacement, but some low-cost units are sealed and harder to service.Most solar street lights use a battery box (on the pole, inside the pole, or under the panel). Many models allow battery replacement. Some low-cost units are sealed and harder to service.
When Should I Replace the Battery?
You may need a new battery if your solar light turns on but only runs for 1–3 hours, looks dimmer than before, works only after a sunny day but fails after cloudy weather, or flickers and shuts off early. Another sign is when the system is about 2–5 years old and the performance has clearly dropped. However, do not guess. Many problems are not caused by the battery alone. If you say, “I replaced the battery and it still doesn’t work,” it may be because the real issue is the solar panel, the controller, the wiring, or water damage.
Before You Replace: Confirm It’s Really the Battery
Use this quick check list first. It saves time and cost.
Quick checks (no tools)
Clean the solar light panel
Dust and bird droppings reduce charging a lot.
Check the switch
Some lights have an ON/OFF switch inside the housing.
Check shade
Trees, poles, or buildings can block solar charging.
Check water signs
Look for fog, rust, or wet marks inside the box.
Simple tests (basic tools)
If you can, use a multimeter:
Check battery voltage (open circuit)
Check charge voltage from the panel in daytime
Check controller output to lamp at night
If the battery voltage is very low and does not recover after a full sunny day, the battery is likely weak.
Battery for solar lamp Types (Common Options)
Solar street lights do not always use the same battery. You must match the system design.
Common battery types include:
LiFePO4 (Lithium iron phosphate)
Very common in modern solar street lights. Long cycle life, safer chemistry.
Lithium-ion (often 3.7V cells in packs)
Used in some systems. Needs correct charger profile.
Lead-acid (gel or AGM)
Used in older or budget projects. Heavy and shorter life.
NiMH / NiCd (more common in small garden lights)
Usually not used for street lights, except very small units.
For street lights, LiFePO4 is often the best choice for long life and stable outdoor use.
Step 1: Identify the Right solar powered light batteries
This is the most important step. Many people worry, “I’m afraid I’ll buy the wrong voltage and damage the board.” That fear is valid, because the wrong voltage can harm the controller. To avoid mistakes, check the old battery label or the system sheet and confirm four things: battery chemistry, battery voltage, battery capacity, and the physical size/connector.
Battery chemistry
First, confirm the battery chemistry, such as LiFePO4, lithium-ion, gel, or AGM. Do not change the chemistry unless the controller clearly supports the new type, because different batteries need different charging rules.
Battery voltage
Next, confirm the battery voltage. Common solar street light battery packs include 12.8V LiFePO4 (4 cells), 25.6V LiFePO4 (8 cells), 12V lead-acid, and 24V lead-acid. Never mix a 12V battery with a 24V system, because the system will not work correctly and parts may be damaged.
Battery capacity (Ah)
Then check the battery capacity in amp-hours (Ah), which affects how long the light can run at night. But bigger is not always better. You may think, “I want longer runtime, but I’m not sure higher mAh is safe.” If the solar panele mit lampe is small, a larger battery may never fully charge, especially during rainy seasons. A practical rule is that the battery size must match the panel wattage, local sun hours, and the required runtime.
Physical size and connector
Finally, confirm the physical size and connector. Many people say, “I bought the right battery, but it does not fit.” To avoid this, check the inner size of the battery box, the cable length, the connector type (plug, terminals, or screw lugs), and the polarity and wiring order before you buy.
Compatibility checklist (use this every time)
| Item to match | What to check | Why it matters |
| Chemistry | LiFePO4 vs Li-ion vs Lead-acid | Controller charge profile must match |
| Voltage | 12.8V / 25.6V / 12V / 24V | Wrong voltage can damage controller/lamp |
| Capacity | Ah rating | Impacts runtime and charge time |
| BMS (for lithium) | Built-in BMS spec | Protects from overcharge/overdischarge |
| Size | Length/width/height | Must fit battery box |
| Connector | Same plug/terminals | Avoid unsafe wiring changes |
| Polarity | + and – correct | Reverse polarity can burn parts |
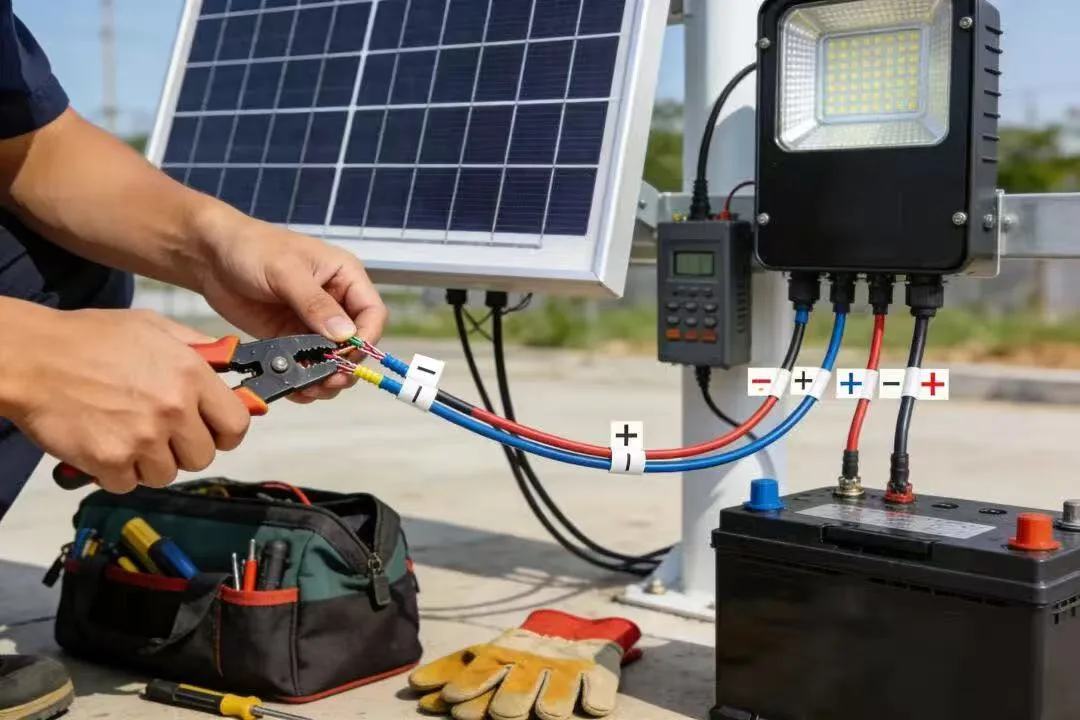
Step 2: Prepare Tools and Safety Steps
Solar street lights use higher energy than small garden lights. Work carefully.
Basic tools
Before you start, prepare a few basic tools to make the work safer and easier. Use insulated gloves to protect your hands, and bring screwdrivers (Phillips and flat) for opening covers and removing screws. A multimeter helps you check voltage, and cable ties help you secure wires after installation. If the terminals have rust or dirt, contact cleaner can help. Also prepare a new gasket or sealing strip if the old one is damaged or if you need to restore waterproof sealing.
Safety steps
For safety, turn off the system first using the switch or breaker if it has one. Then cover the solar panel to reduce charging voltage while you work. Do not short the battery terminals, and keep metal tools away from any exposed terminals to avoid sparks or damage. If the site requires certified electricians, make sure you follow local rules and safety standards.
Step 3: Replace battery in solar lights (Typical Solar Street Light Process)
The exact steps depend on the design, but the logic is similar.
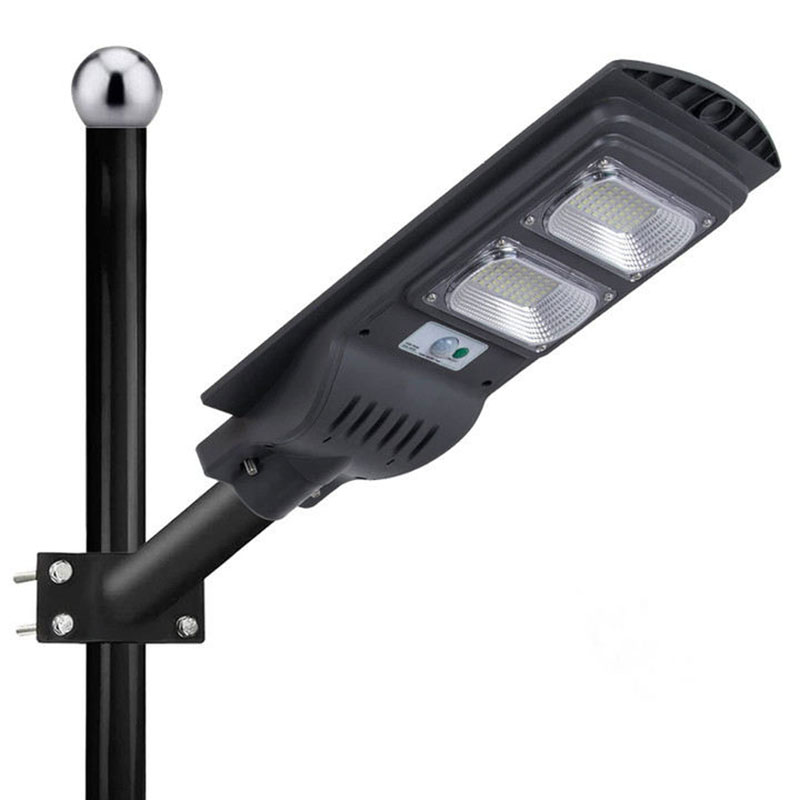
Battery box on the pole
If the battery box is mounted on the pole, start by opening the battery box cover. Before you remove anything, take a clear photo of the wiring so you can reconnect it correctly later. Then disconnect the battery connector or terminals and remove the old battery pack. If you see corrosion, clean the terminals before installing the new battery. Put the new battery pack in the same position as the old one, connect the positive and negative wires correctly, and then re-check cable tightness and wire routing to make sure nothing is loose or pinched. Finally, close the box securely.
Battery inside the pole
If the battery is inside the pole, open the access door first. Support the battery pack with your hand or a strap to avoid dropping it during removal. Then disconnect the cables and pull the battery out slowly. Install the new battery pack, secure it firmly in place, and close the access door with proper sealing to help keep water and dust out.
Battery under the solar panel (top box)
If the battery is in a top box under the solar panel, make sure you have safe access using a stable ladder or lift. Open the top housing, disconnect the battery connector, and swap the battery pack. After the replacement, close the housing carefully and restore the seals so the system stays waterproof.
Step 4: Restore Waterproofing (Very Important)
Many street light failures are caused by water. You may think, “I’m worried the seal won’t be restored and rain will kill it,” and this is a real risk. After you solar light batteries replacement, check the gasket condition for cracks or flat spots, and make sure the cover closes evenly. Use non-acidic silicone only if needed, ensure the cable glands are tight, and confirm the drainage holes are not blocked. If water enters the box, corrosion can start and the controller may fail.
Step 5: After solar light cell replacement, Get Full Runtime Again
A new battery in solar lights still needs correct charging to reach normal performance. After you replace it, place the solar panel in full sun and let it charge for 1–2 days. Then check the controller settings if they can be adjusted, confirm the light turns on at night, and observe the runtime for the next 2–3 nights. If the runtime is still short, the solar panel may be under-sized or shaded, the controller may have a fault, or the wiring may have voltage drop.
Why does solar lights stop working (Even With a New Battery)
Here are common reasons:
Solar panel is dirty or shaded
Controller is damaged (often by water or heat)
Wrong battery voltage or wrong chemistry
Loose connector or reversed polarity
LED driver fault
Bad sensor or incorrect settings
If you replace the battery and the light still fails, focus on panel output and controller behavior next.
Replace the Battery or Replace the Whole Solar Street Light?
Use this simple decision flow:
Does the light work but runtime is short?
|
+– Yes –> Is battery older than 2–5 years?
| |
| +– Yes –> Replace battery (if controller & panel test OK)
| |
| +– No –> Check panel cleanliness, shade, controller settings
|
+– No –> Does the panel output and controller output test OK?
|
+– No –> Repair/replace controller or panel
|
+– Yes –> Check LED module/driver and wiring
When solar battery replacement makes sense
solar lights battery replacement is a good choice when the overall system is still in good condition, the battery is clearly aged and no longer holds charge well, and the correct replacement parts are available. In this case, changing the battery can restore runtime without replacing the whole light.
When whole replacement solar light may be better
Replacing the entire fixture may be a better option when the housing is damaged, the controller has failed many times, water ingress is severe, or the labor cost for repair is too high. In these cases, a full replacement can be more reliable and cost-effective.
B2B Tips: Maintenance Planning for Projects
For contractors and facility teams, battery work is easier with a plan.
Best practices
For solar street light projects, good maintenance is easier when you use a clear plan. Try to standardize battery voltage across models, such as 12.8V or 25.6V systems, so parts and training are simpler. Keep spare batteries on hand, for example 2–5% extra, to reduce downtime. Record the battery install date and batch number for tracking, schedule a yearly inspection before the rainy season, and train installers to check sealing and polarity carefully to prevent water damage and wiring mistakes.
Spare parts kit
A basic spare parts kit helps your team fix issues faster on site. It should include battery packs with the correct specifications, gaskets or sealing strips to restore waterproofing, cable glands to keep water out, terminal screws for secure connections, and contact cleaner to remove corrosion and improve electrical contact.
Battery Disposal and Recycling
Do not throw batteries into regular trash. Lithium batteries must be recycled properly, lead-acid batteries should be sent to licensed recycling, and NiCd batteries require special handling. Use local battery recycling points or approved waste services to dispose of old batteries safely.
FAQs (Solar Street Light Focus)
Can you replacement batteries for solar lights?
Yes, most solar street lights use replaceable battery packs, especially pole box or top box designs.
Do solar lights need batteries?
Yes. The battery stores energy so the lamp can run at night.
Can you use a regular battery in a solar light?
For solar street lights, no. You must use the correct rechargeable battery chemistry and voltage designed for the controller.
Can I use a higher Ah battery for longer runtime?
Sometimes, but only if the solar panel can fully charge it in your local sun conditions.
What happens if I use the wrong voltage?
The controller or LED driver may fail, and the battery may be unsafe.
Why does my solar street light stop working after battery replacement?
Common causes are wrong battery spec, loose wiring, water ingress, or a controller/panel issue.
How long do solar street light batteries last?
Often 2–5 years depending on chemistry, depth of discharge, heat, and charge conditions. LiFePO4 usually lasts longer.
Do all solar street lights have the same battery?
No. Voltage, capacity, size, and BMS design vary by system.
What should I check after installing a new battery?
Check seals, polarity, charging in daytime, and runtime over several nights.
Conclusion
Replacing a solar street light battery can be a smart way to restore runtime and reduce project cost. The key is to confirm the battery is the real problem, match the correct battery specs, and restore waterproof sealing after the work.
If you want help confirming battery compatibility for your solar street light model, see our [Solar Batteries & Replacement Parts] or contact us via Contact Our Team.