Skip to content
 This guide is based on common install practices for city, industrial, and commercial outdoor jobs.led exterior flood lights are used in many places, but the rules can differ. They depend on local electrical codes, the site environment, and your project needs.
A Professional Guide for Safe, Efficient, and Long-Lasting Results
Outdoor flood led lights may look simple. You mounted flood lights, connect the wires, and turn them on. But on real outdoor projects, that “simple” approach can cause early failures, uneven light, safety issues, and higher maintenance costs.
For cities, industrial sites, logistics yards, commercial facilities, and EPC contractors, flood led lights are part of critical infrastructure. how to mount a floodlight affects light performance, code compliance, energy cost, and service life.
This guide shows how to install outdoor floodlight the right way. It uses an engineering view, not DIY tips. It explains why each step matters, so your results stay stable, repeatable, and reliable outdoors
Why Proper Installation Matters More Than Fixture Selection
In led outdoor area street lighting projects, teams often focus on lumens, wattage, and datasheets. But they may ignore installation quality. This often causes real problems: uneven light, glare, early failures, safety risks, and more service calls.
Even a good led flood street light can work poorly if it is installed the wrong way. Common mistakes include:
Wrong mounting flood lights height
Wrong aiming angle
Poor cable sealing that lets water in
Missing or weak grounding
Loose brackets or fasteners
Installing exterior flood lights are not the “last step.” It is part of the lighting system. Outdoors, installation affects three key areas:
Heat: Bad mounting can block heat from leaving the fixture. Higher heat can shorten the life of LEDs, optics, and drivers, and can change light color over time.
Water: If the cable entry or gasket is not sealed well, moisture can enter. This can fog lenses, cause rust, and damage insulation.
Strength: If the flood light outdoor fixture is not fixed tightly, wind and vibration can move it and loosen parts. This can change the aim and increase failure risk.
Poor floodlight installation does more than look bad. It can reduce useful light and increase stress on the fixture. It can also affect warranty support. Good installation helps the light meet the design, reduces maintenance, improves safety, and lasts longer. For professional outdoor led flood lighting, installation quality is a must.
Can LED Flood Lights Be Installed Without Professional Contractors?
This is a common question in outdoor projects: Can we install flood lights ourselves, or do we need a professional?
It depends on risk, not on whether flood lights look easy. Outdoors, small mistakes can cause glare, dark spots, water leaks, shock risk, and extra service calls. In many areas, jobs with fixed wiring, high mounting, or public areas may also need permits and inspections. Always follow local electrical codes and project rules.
Low-risk vs high-risk examples
(Plug-in + low height vs hardwired + high mount + public area)
| Project factor | Lower risk (DIY may be OK) | Higher risk (pro install recommended) |
| Power connection | Plug-in | Fixed wiring / new circuit |
| Mounting height | Low | Elevated (pole/mast/wall high) |
| Site type | Private, controlled | Public access / municipal / industrial |
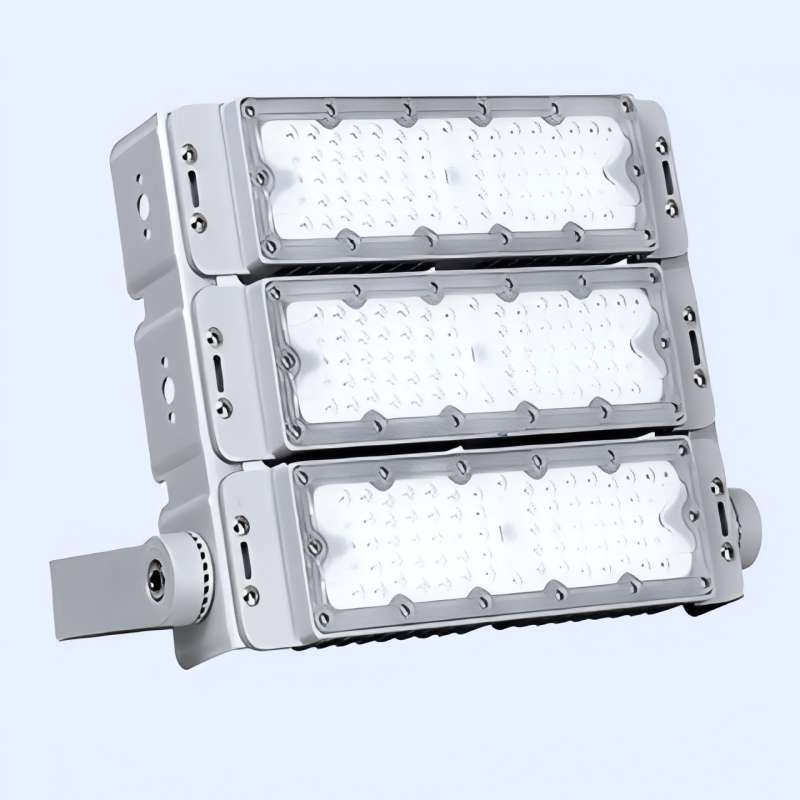
| Fixture power | Low–moderate | High-power flood lighting |
| Environment | Mild | Coastal / rain / dust / chemicals |
| Consequence of failure | Low | Safety, compliance, liability |
When self-installation may be OK
Self-installation can work when the job is small and low risk:
Low mounting height
Single-phase power
Plug-and-play fixtures
Non-critical areas
No public access
Examples: small yards, sign lighting, or temporary lighting.
When professional installation is recommended
Use a professional when the job includes:
High mounting (walls, poles, masts)
Fixed wiring or new circuits
High-power flood lights
Industrial or municipal sites
Harsh weather or coastal areas
Public access areas
Projects that need inspection or sign-off
In higher-risk jobs, the goal is simple: match the installer to the risk, and make sure the system works as designed.
Pre-Installation Planning: Decisions That Must Be Made First
Professional installation starts before you pick up any tools. Good planning helps you avoid rework later and get the result you expect.
Define the lighting goal first
Start every flood light led outdoor job with a clear purpose. If you skip this step, you may end up with light that is too bright, uneven, or uses too many fixtures.
Common goals include:
Security lighting: perimeter safety and camera visibility
Functional lighting: loading areas, yards, and parking zones
Architectural lighting: highlighting a façade or structure
Operational lighting: industrial work and task areas
The goal affects mounting height, beam angle, spacing, and aiming. When installing outdoor flood lights without a clear purpose, the light pattern is often inefficient.
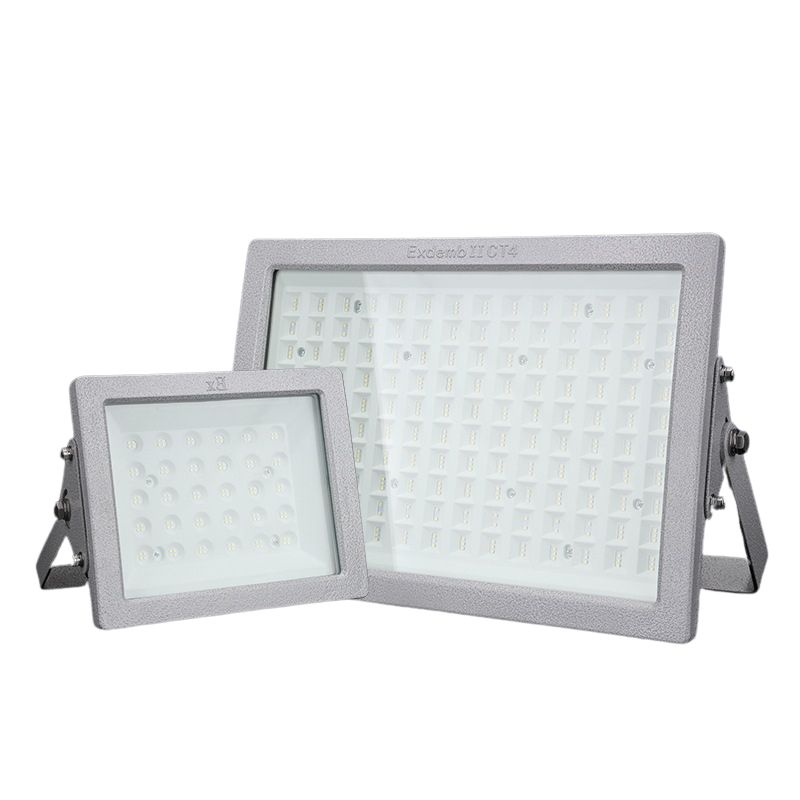
Choose the right LED flood light for outdoor use
Professional outdoor floodlight installation also assumes the fixture matches the site and the job.
Key points to check:
Lumens vs watts
Watts show power use, not brightness. Plan with lumens and the expected lux distribution, not wattage alone.
Beam angle
Narrow beams work for long distance. Wide beams work for area coverage. A wide beam used in a long-throw job can cause glare and wasted light.
CCT (color temperature)
Neutral or cool white often helps outdoor visibility. But too much blue can feel harsh and increase light pollution. Choose based on where the light will be used.
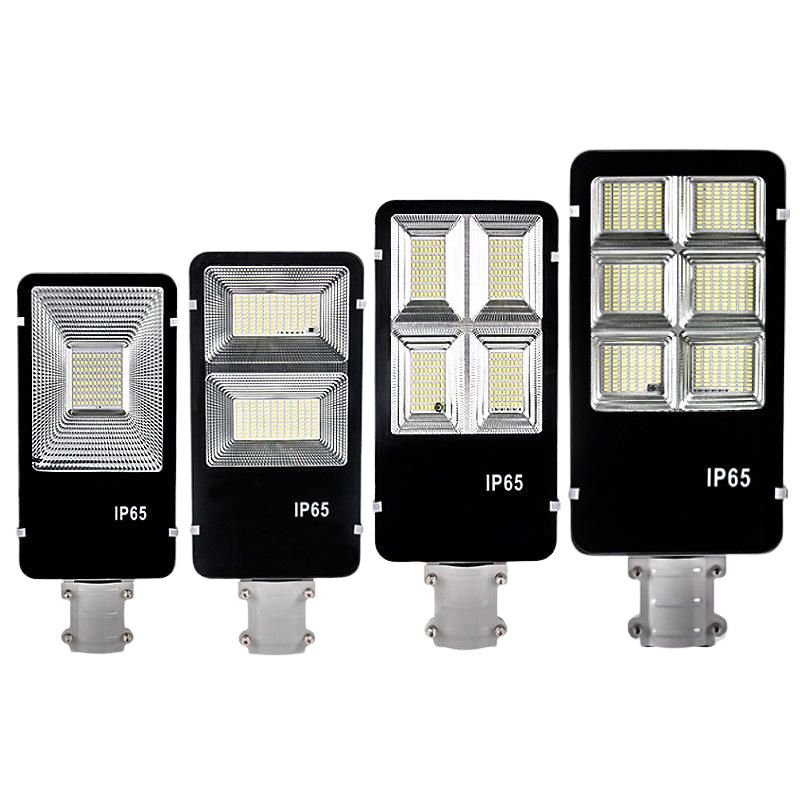
IP rating (water and dust protection)
Waterproof led flood lights usually need IP65 or higher. But the rating only helps if installation keeps seals and cable entry points tight.
In many projects, safety and protection expectations follow widely used standards for luminaires and enclosures (such as IEC frameworks for luminaire safety and ingress protection). In real outdoor conditions, correct installation is what helps the flood lighting fixture keep its rated protection level.
Over-specifying a fixture without thinking about installation and site needs can raise cost without improving performance.
Safety Comes First: Electrical and Environmental Considerations
installing outdoor led lighting has real risks. You deal with electricity, water, and weather. Professional work aims to remove risk, not “work around it.”
Power isolation and grounding
Local electrical codes usually set the rules for grounding and bonding in outdoor lighting. These rules help reduce shock risk, improve fault protection, and keep the system stable in harsh conditions.
Before you start:
Turn off and fully isolate the power
Use lock-out steps when required
Check grounding continuity before energizing
Grounding is not just a formality. It protects people and equipment, especially in wet or conductive outdoor areas.
Moisture ingress and outdoor wiring protection
Many outdoor failures are not caused by the LED chips. They are more often caused by water getting in through:
Poor cable entry sealing
Weak connectors
Missing or incorrect strain relief
In the field, cable entry points and junction connections are common failure spots for outdoor flood lights. Good sealing and proper strain relief can greatly reduce moisture-related problems over the fixture’s life.
A professional approach treats every connection as a possible weak point. Always assume the wiring will face weather exposure.
Step-by-Step Installation Process: A Professional Method
The installation process should follow a clear, repeatable order. This helps reduce mistakes and keeps results consistent.
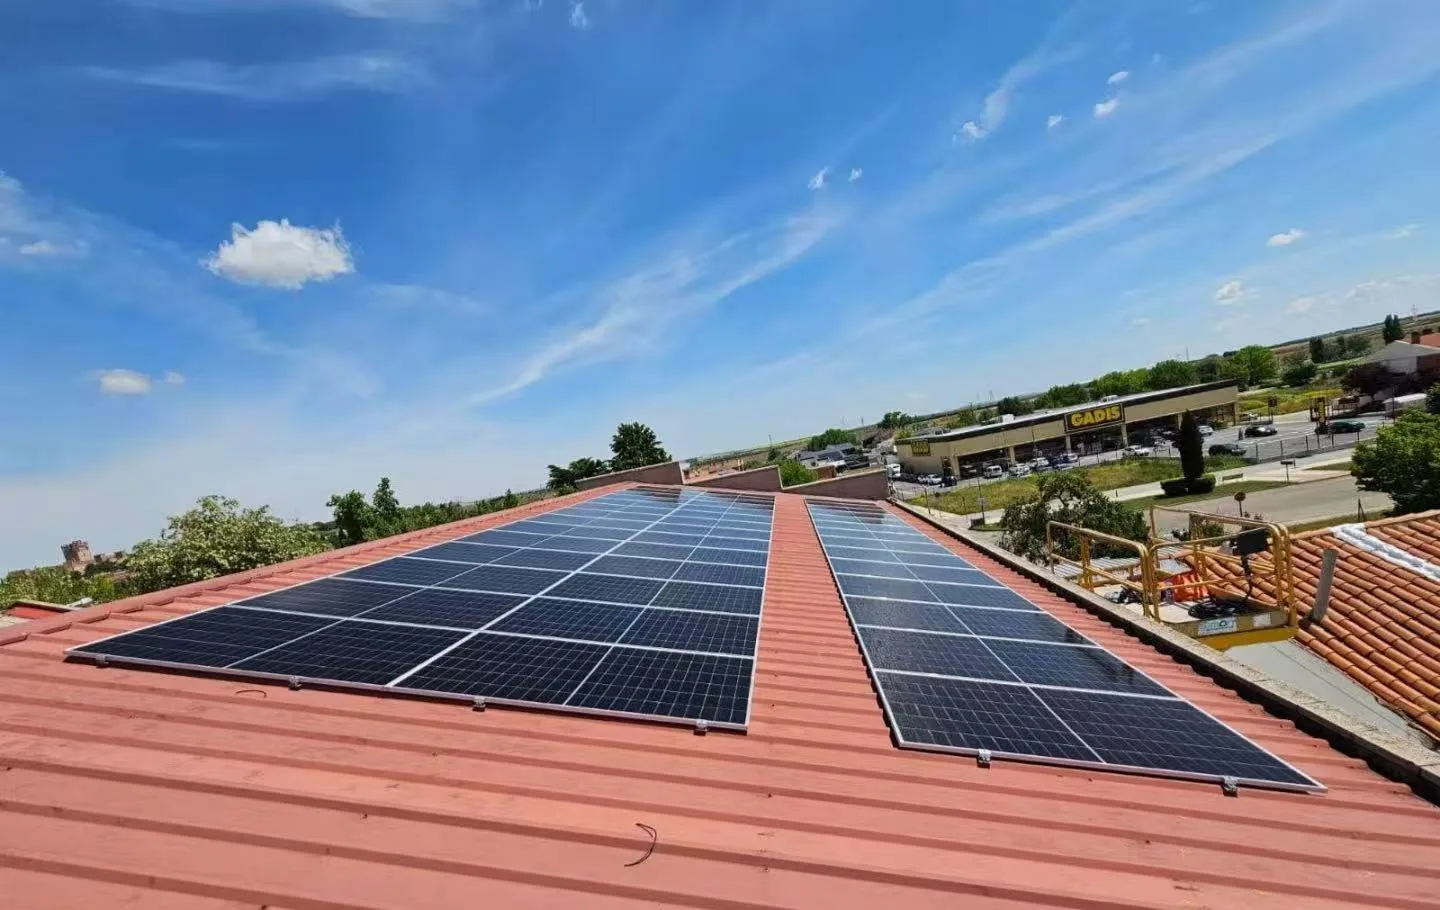
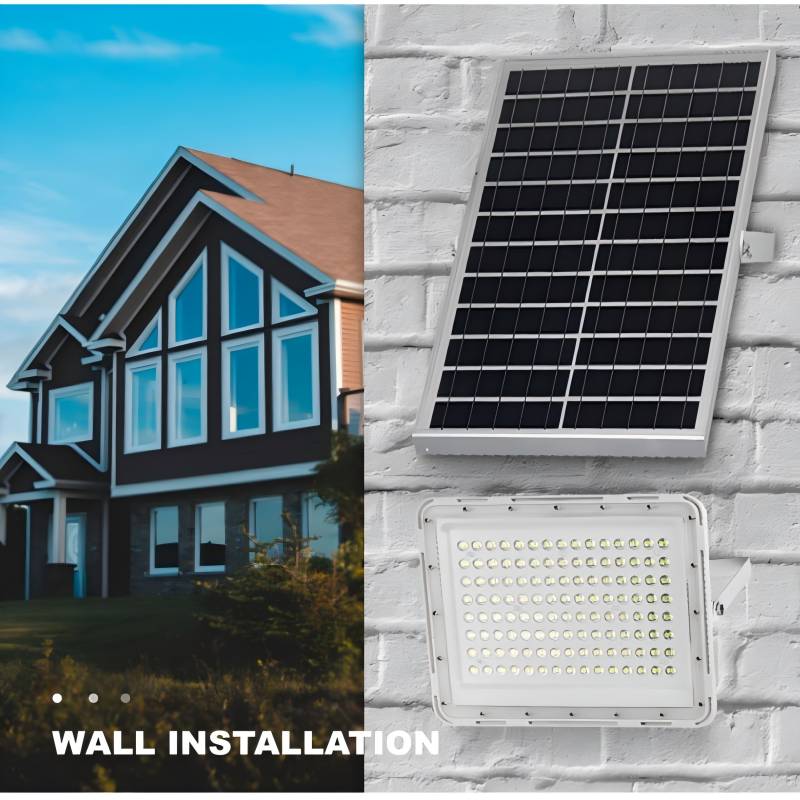
Mounting methods and structural stability
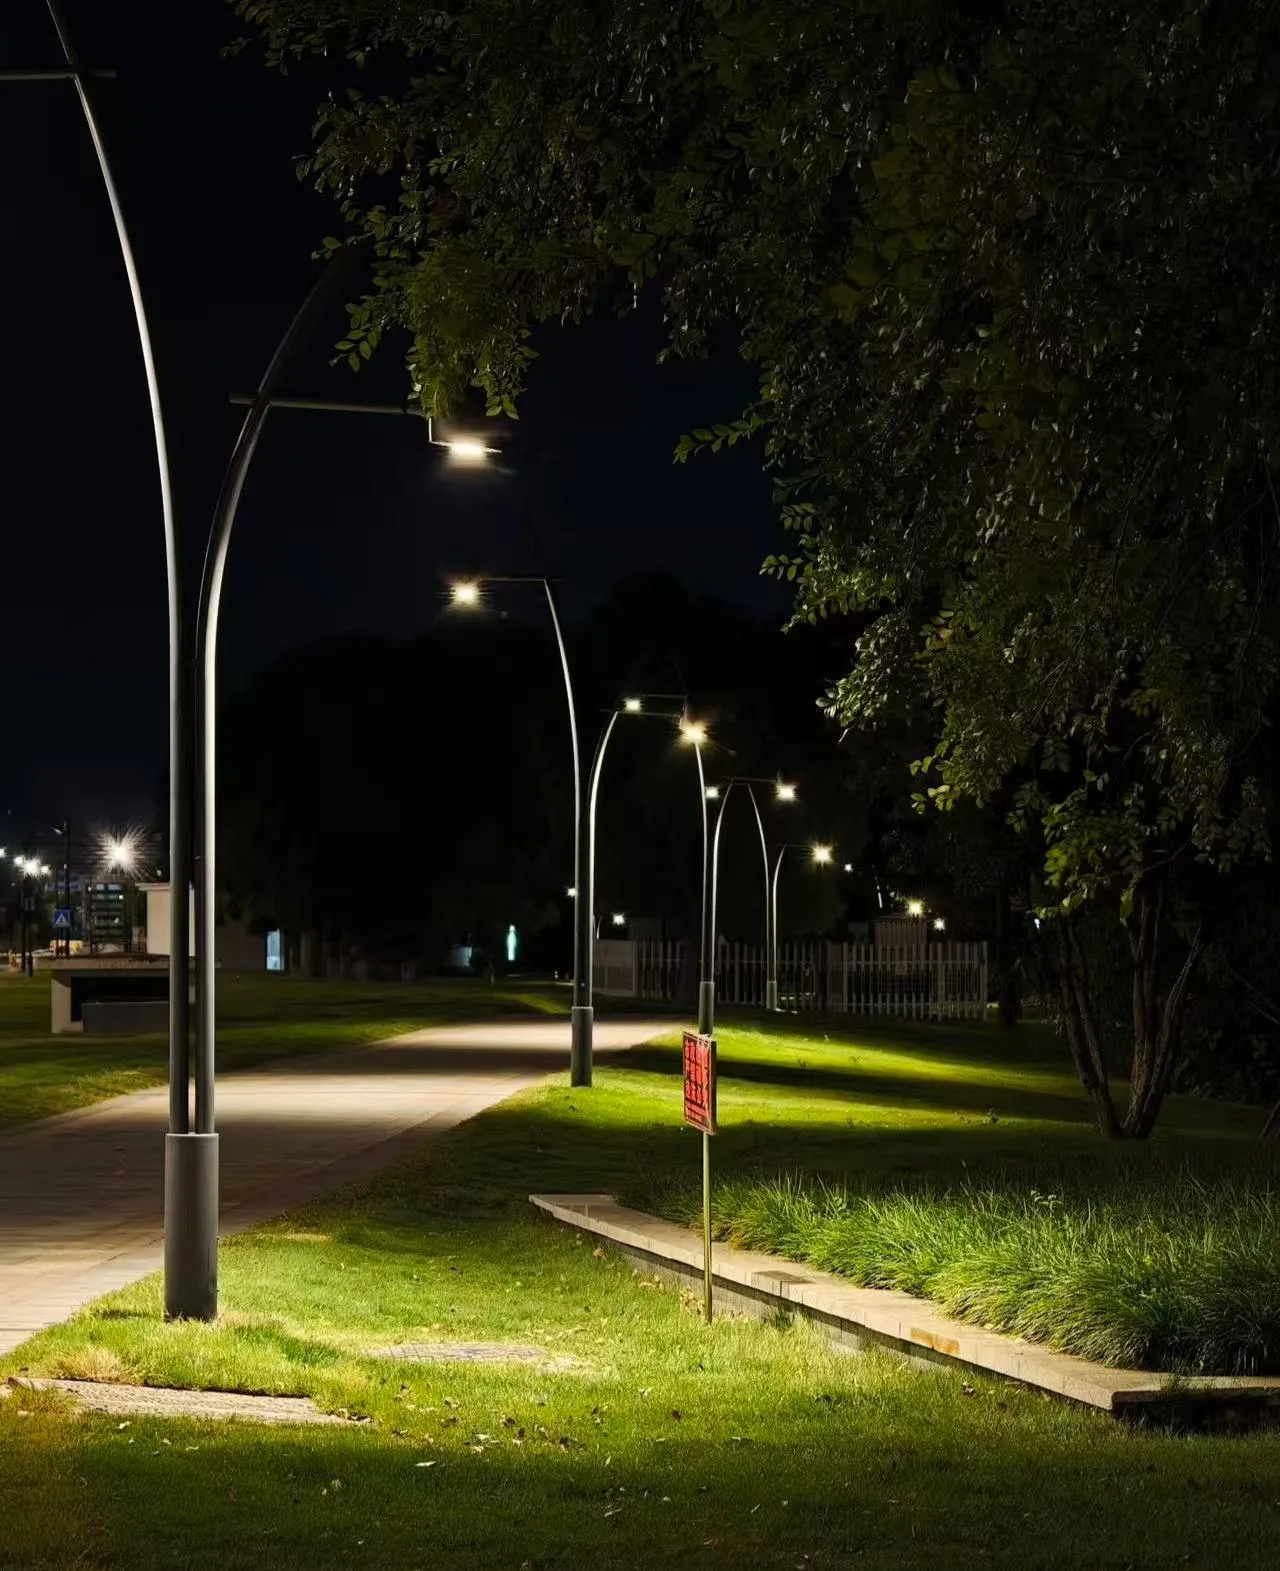
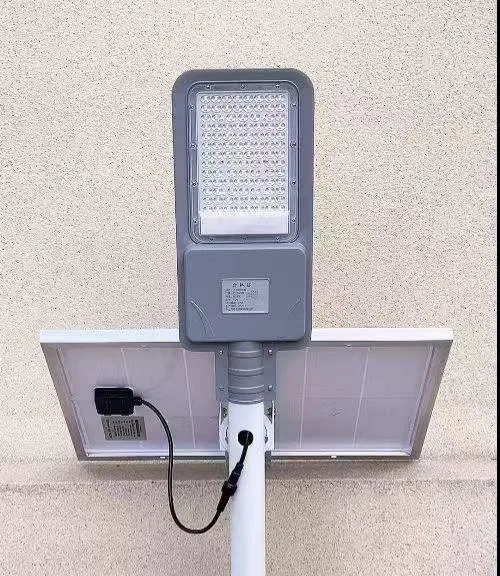
Flood lights led outdoor can be wall mounted outdoor led flood lights, ground flood lights, or solar flood lights for flagpoles. In all cases, strength matters more than speed.
The mounting surface must:
Hold the fixture weight and wind load
Stay stable over time
Resist vibration and corrosion
Choose hardware that matches the mounting surface and the site conditions. Control tightening torque. Fastening problems may not fail on day one, but they often cause slow loosening, vibration damage, or corrosion later.
Fasteners must match the substrate material. Over-tightening can damage the housing. Under-tightening can cause long-term movement and instability.
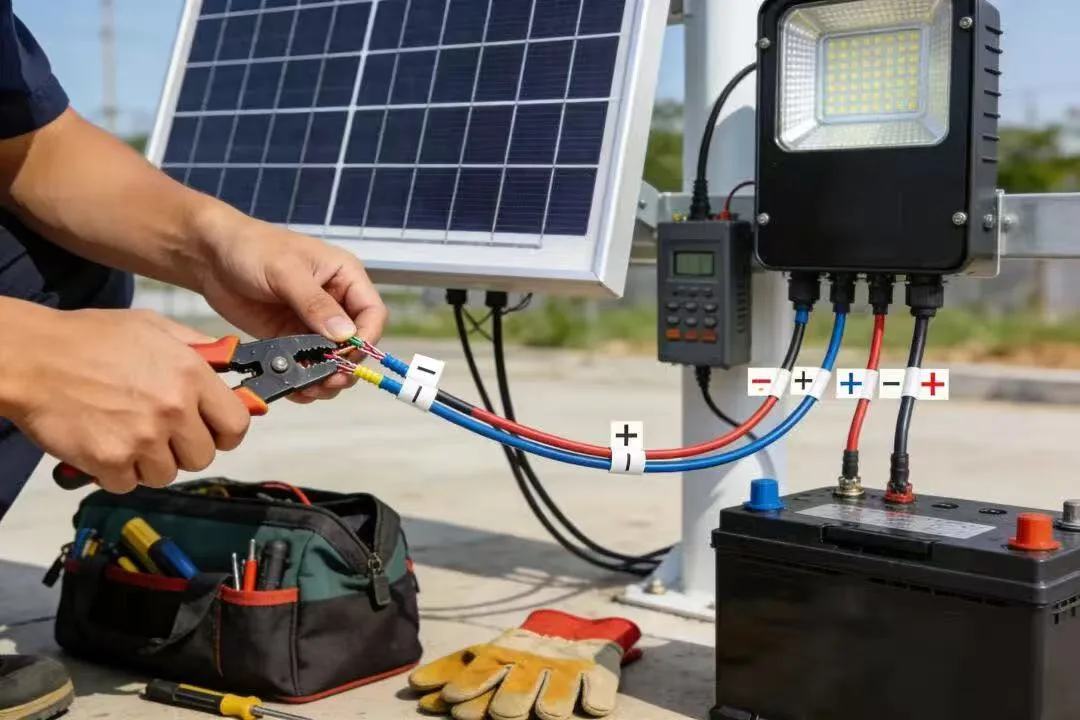
Wiring and connection best practices
Electrical connections are a common failure point in outdoor LED flood lights.
Good practice includes:
Use outdoor-rated cables
Use waterproof connectors
Keep a safe bending radius (do not kink cables)
Add strain relief to remove pull on terminals
Avoid cable paths that guide water into the housing
Route cables so they can expand with heat, drain water, and allow service access. Too much bending, tension, or trapped moisture increases stress on connectors and insulation. Connections should be tight, easy to service, and protected from temperature cycling.
Final positioning and angle adjustment
After mounting and wiring, aiming decides real lighting performance.
Bad aiming can cause:
Glare
Light spill onto nearby areas
Uneven lighting
Less useful coverage
Adjust the flood light bulb lamps in small steps. Test them under real site conditions. Check results from different viewpoints. The goal is not maximum brightness. The goal is controlled light that lands where you need it.
In professional projects, teams often check aiming from multiple locations, including pedestrian level and from vehicle approach angles, to confirm glare and light spill are under control.
Testing, Commissioning, and Performance Verification
Installation is not finished just because the light turns on. Commissioning confirms the system works the way it should.
Professional commissioning often includes:
Visual check of all connections
Check grounding continuity
Power-on test under load
Check coverage and lighting uniformity
Early heat check after start-up
Even simple commissioning notes help set a performance baseline. They also support future maintenance and troubleshooting. In larger commercial or municipal projects, written checks are often expected.
If you find issues during commissioning, they are much easier to fix now than after weeks of operation.
Long-Term Maintenance and Reliability Considerations
Good installation can reduce maintenance. But outdoor sites still need regular checks.
Do these basic tasks:
Clean lenses and covers as needed
Check seals and cable entry points
Make sure the flood light mounting bracket is still tight and stable
Look for rust, corrosion, or signs of stress
Long-term reliability depends on the product and the install. flood light fixture with good sealing, grounding, and strong support usually need fewer repairs over time.
When flood lights are installed well, they keep stable performance with less work. This helps protect maintenance and operating flood lights installation cost
Common Installation Mistakes That Reduce LED Flood Light Lifespan
Even good exterior flood light fixtures can fail early because of common install mistakes. Examples include:
Cable entries are not sealed well
Pole mounted led flood lights height is wrong
The light is tilted too much
Grounding is weak or missing
Weather exposure is not considered
Each mistake can cause a clear problem: shorter life, more repairs, or safety risk. Good installation removes these repeat errors.
This article gives general engineering guidance for flood light installation. Local codes and site rules can be different. If the job has high voltage, high mounting, or public access areas, a licensed electrician should install it or check it, based on local rules.
FAQ
1.Can Iinstall outdoor flood light without a professional?
Sometimes, yes—but only for low-risk jobs. If the light is plug-in, mounted low, and not in a public area, self-install may be OK.
If the job includes fixed wiring, high mounting, high power, or public access, use a licensed or qualified professional. Local rules may also require permits and inspection.
2.What is the best mounting height for outdoor flood lights?
There is no one “best” height. The right height depends on your goal: security, yard work, parking, or façade lighting.
If the height is too low, you may get glare and bright spots. If it is too high, you may lose useful light on the ground. Start with your target area and beam angle, then adjust.
3.How do I choose the right beam angle?
Use narrow beams for long throw. Use wide beams for area coverage.
A wide beam used for long distance often wastes light and causes glare. A narrow beam used for area lighting can create dark zones.
4.What ip rating for outdoor lights is enough for outdoor smart flood lights?
For outdoor use, IP65 or higher is common. But the rating only helps if installation keeps seals and cable entry points tight.
Bad cable entry sealing can allow water in, even with a high IP rating.
5.What causes water ingress most often during installation?
The top causes are poor cable entry sealing, weak connectors, and missing strain relief.Treat every connection point as a risk area. Use outdoor-rated cable, waterproof flood light outdoor connectors, proper strain relief, and a cable route that does not guide water into the housing.
6.Why is grounding so important for outdoor ground flood lights?
Grounding is not just a formality. It protects people and equipment, especially in wet outdoor areas.
Before you energize the system, confirm grounding continuity. Poor grounding can increase shock risk and reduce fault protection.
7.How do I aim flood lights to reduce glare and light spill?
Aim in small steps. Test at night or under real site conditions.
Check results from different viewpoints, including pedestrian level and vehicle approach angles. The goal is controlled light, not maximum brightness.
8.What should be checked during commissioning?
Commissioning confirms the system works as intended, not just that it turns on.
Do a visual check of connections, verify grounding continuity, power-on test under load, check coverage/uniformity, and do an early heat check after start-up. Keep simple records for future maintenance.
11.Installation Is Part of the Lighting Design
In professional outdoor lighting, installation is not the last step. It is part of the design.
A well-install floodlight:
Gives steady, even light
Keeps good efficiency over time
Stays safe in harsh weather
Protects the project’s value
Good results come from treating installation like engineering, not just a simple job. This is what separates a short-term fix from long-term infrastructure.
Proper installation is not about making things complicated. It is about doing each step with care and planning for real outdoor conditions. When installed correctly, LED flood lights deliver what they promise: reliable, efficient, durable light that works as designed.
Want fewer failures and fewer service calls?
Ask for our outdoor flood light installation checklist and commissioning checklist. We can also review your wiring, sealing, and aiming plan before site work starts.