Skip to content
 Introduction
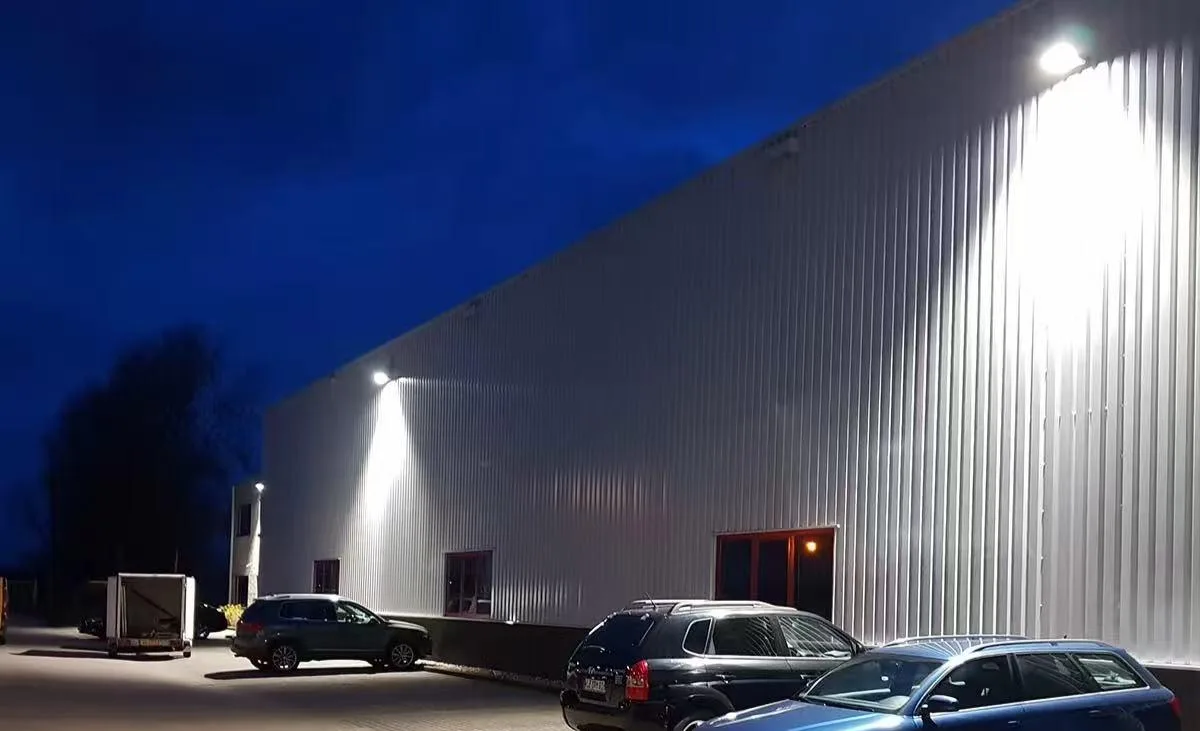
Led lights street lamps are an important part of cities. They keep streets safe, secure, and visible at night. As more led light street and solar energy street lights are used, led lights installation methods have changed, focusing on energy efficiency and technology. Whether you’re a city planner, contractor, or DIY enthusiast, it’s important to know the right installation light steps to make sure the lights last and work well.
This guide will show you the whole process, from preparing the site to setting up smart light systems, using the latest standards and technology.
Assess the Location
Before starting the led installation, it’s important to assess the led light street location. The right placement helps maximize visibility and ensures the light works well.
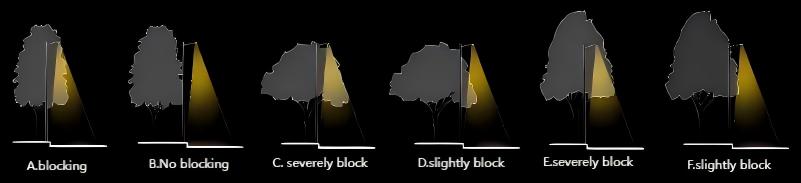
Optimal Placement and Spacing for led lighting street:led street light pole spacing should be adjusted to fit the needs. For 20 foot pole, space them 50-65 feet apart for good lighting at a low cost. If more brightness or safety is needed, you can reduce the space.If you’re wondering how far apart are street lights should be, the right location helps spread the light evenly, improving both visibility and safety.
Obstacle Check: Make sure there are no buildings or natural things (like trees or bushes) that can block the light or make future led street light maintenance hard.
Select the Right Equipment
Based on your site assessment and energy goals, choose the most suitable street light type.
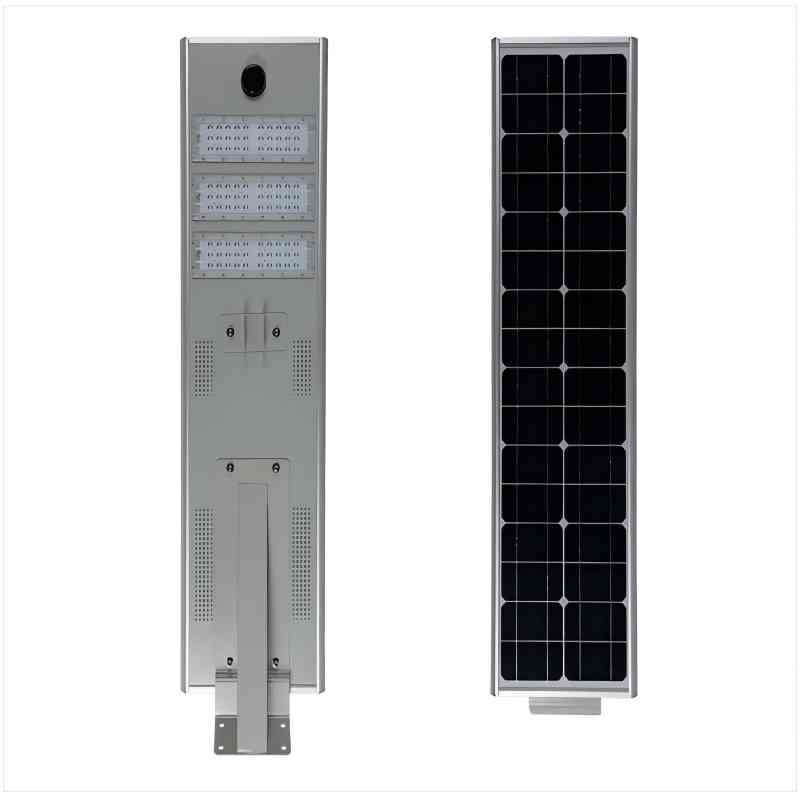
led light power source & led luminaire:Choose led street lights lumens per watt (brightness) greater than 150 lm/W for low energy use and high brightness. Based on our experience with Linkolights, we recommend a color temperature of 4000K–5000K (neutral white) for a good balance of clarity and comfort.
Street pole lights: You can choose from materials like 20 ft galvanized steel pole aluminum (light and rust-proof), and composite materials (for tough weather). In areas with wind speeds over 150 km/h, pick poles with a wind resistance rating of Class 3+ (ASTM standard). Also, the depth of the foundation bolts should be at least 1/10 of the pole height to stop the pole from tipping.
Wiring & Protection: The wiring needs to be for outdoor use and strong enough to handle the electrical load of the light.
Pole base: A strong base is needed to hold the pole. Usually, this means concrete footings or a lamp post base mount to secure the pole to the ground.”Having the right equipment will make the installation process more efficient and safe.
Prepare the street light led ground
Proper ground preparation is necessary to ensure the street lighting pole is installed securely and can withstand the elements.
Excavating the Hole:The typical depth for foundation pits for standard streetlights is 3–4 feet, while for solar energy powered street lights, the depth should be increased to 5 feet. The allowable deviation for depth is +100mm and -50mm. In cases of loose soil conditions, the pit wall slope should be set to 1:0.5, and timber formwork should be used to prevent wall collapse.
Pole base mount: Place the embedded parts into the excavated pit, ensuring that the embedded parts, foundation, and ground are on the same horizontal plane. Then, pour concrete to fix the embedded parts in place. During the pouring process, continuously stir to ensure uniform consistency, ensuring the compactness and stability of the entire embedded part.Once the base is set, it is important to check the positioning and stability of the pole before moving forward with the installation.
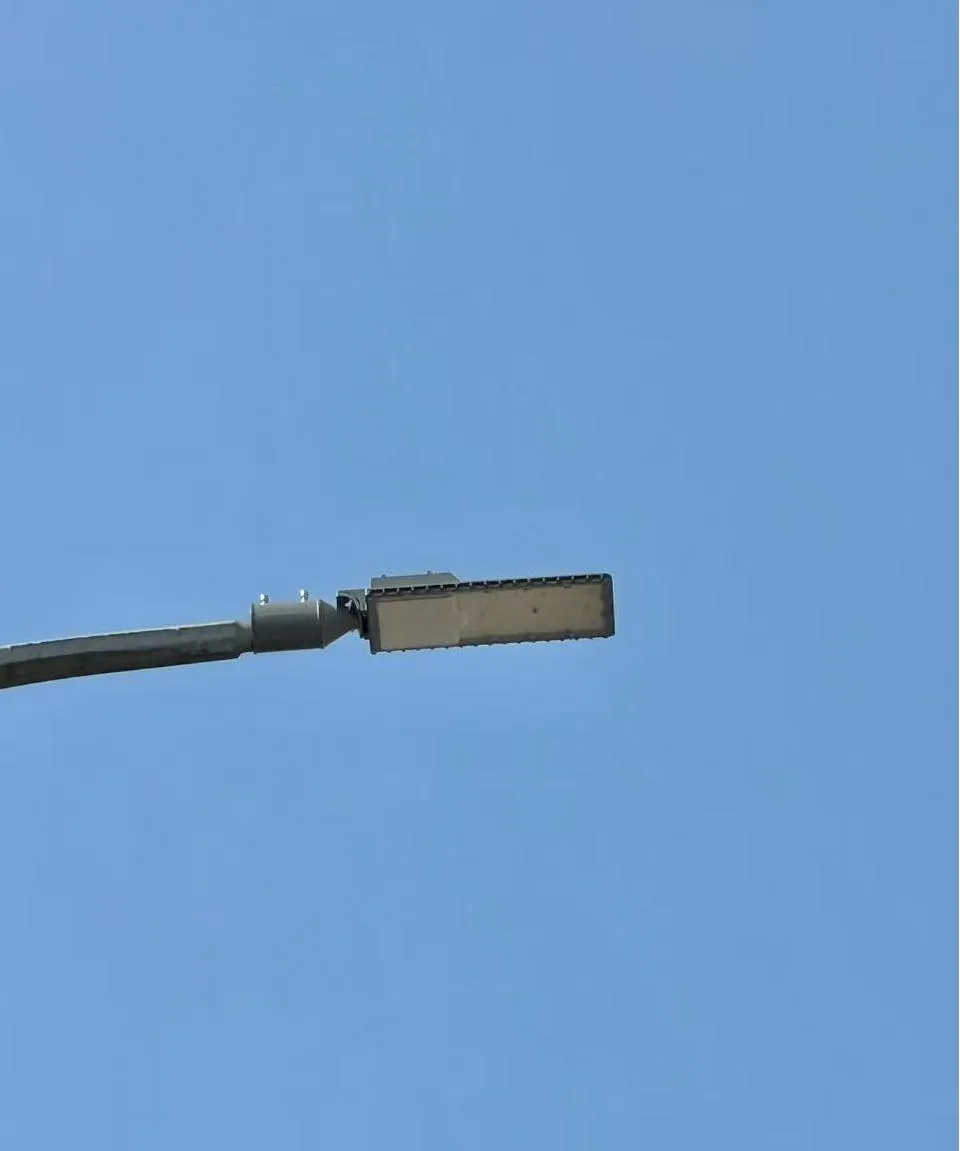
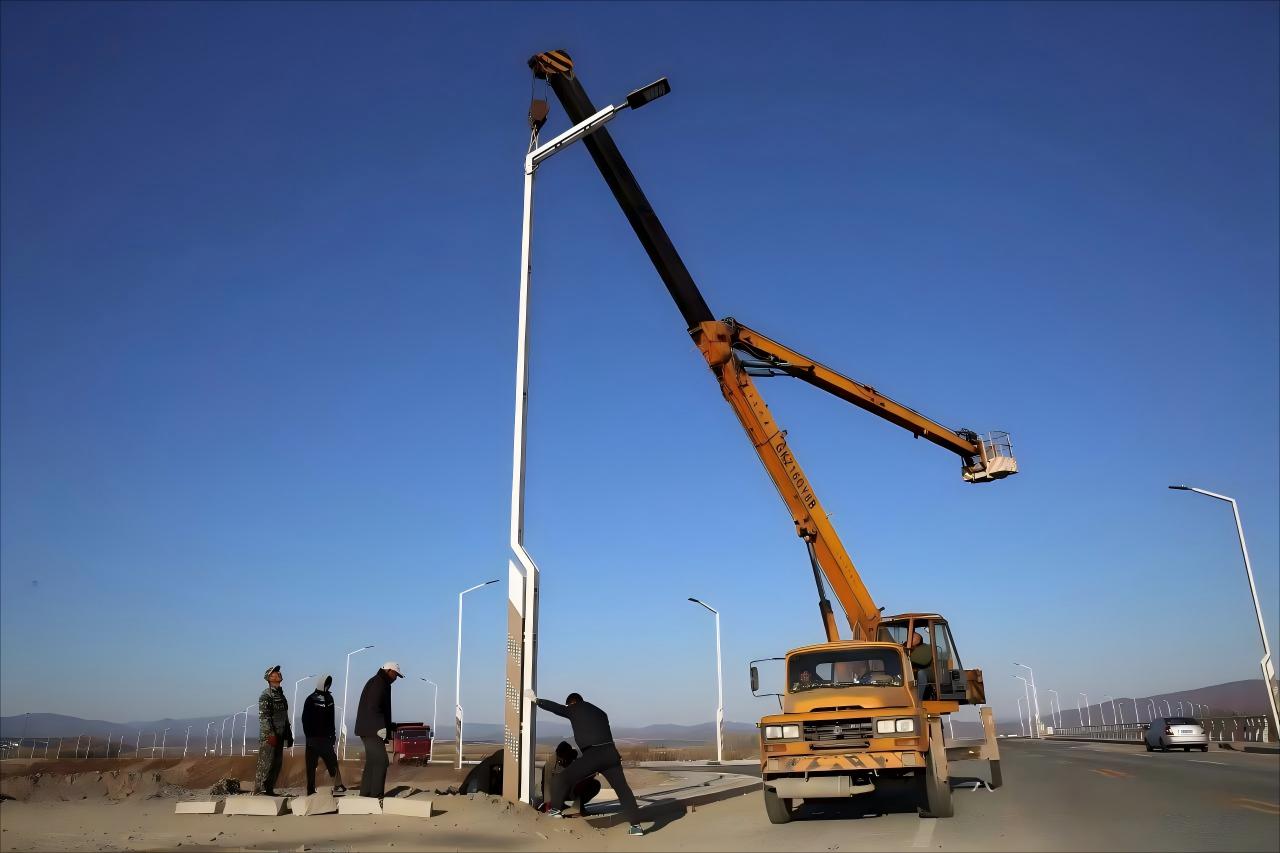
Install the pole street lights
With the base in place, it’s time to install the light pole on street. This step requires careful handling to ensure the pole is upright, securely positioned, and safe to use.
Position the lamp pole:Depending on the light pole height, poles under 6 meters (including 6 meters) do not require a crane. When the pole is lifted directly above the foundation, slowly lower the pole while rotating it. Adjust the street lamp head to face the roadway, ensuring the holes on the flange plate align with foundation bolt installation.
Attach the Pole to the Base: Once the flange plate is placed on the foundation, sequentially place the flat washer, spring washer, and nut. Finally, use a wrench to evenly tighten the nuts, securing the pole in place.
Check for Stability: Check if the pole is tilted and make adjustments if necessary. Note: Before lifting the streetlight, ensure that the 48w led street light fixtures has been tested on the ground and is functioning correctly.
Proper installation of the pole is crucial for the overall functionality and longevity of the street light.
Wiring the street lamp led
After the pole is securely installed, the next step is wiring an led light. Electrical wiring must be done carefully to ensure safety and proper operation of the light.
Run the Wiring: First, connect the wires from the power source to the light, ensuring the outdoor lighting wiring is rated for outdoor use and can handle the LED light’s power needs. For safety, protect the wires with underground wiring for led street lights or weatherproof coverings to keep them safe.
Connect the Wires: Follow the manufacturer’s instructions in your led lighting wiring guide to connect the wires to the light. If you’re not sure how to do it, it’s a good idea to ask a licensed electrician to make sure everything is done safely.
Test the Connections: Once the wires are connected, turn on the power to check the light. Make sure everything is working as it should.
This step requires precision to avoid any electrical hazards and ensure a reliable power connection.
led street light pole mounting
Once the wiring is complete, it’s time to mount the light fixture on the pole. Proper installation of pole mounted led street lights is important for optimal light distribution.”
Fixture Installation: Ensure the street light fixture led is securely attached to the pole or crossarm, using all necessary fasteners.
Cable Connection: Double-check that the internal wiring of the fixture is correctly and securely connected, and apply insulation as needed.
Angle Adjustment: The installation tilt angle of the LED street lighting fixtures should not exceed 15 degrees, as this helps to increase the led street light coverage area of the roadway. A larger angle can cause increased glare and reduce the brightness of slow lanes and sidewalks.”
Secure the Wiring and Test the Light
After mounting the light, make sure the wiring is neatly organized and safely secured to avoid damage. Once the wiring is in place, test the light to ensure it works correctly.
Electrical Testing: Use a multimeter to check the voltage, current, and resistance to make sure everything matches the design. Check for any short circuits, open circuits, or grounding issues. Also, ensure the leakage protection device is working.
Functionality Testing: Turn on the power and check if the streetlight lights up properly. If there’s a light sensor, test if it turns off in the day and on at night. For a timer switch, verify its timing accuracy. For smart streetlights, check if the communication system is connected correctly.
Lighting Effect Evaluation: At night, check the light distribution to see if it’s even and without dark spots. Measure the road brightness to ensure it meets the design standards.
Maintaining the Street Light
After installation, regular maintenance is key to keeping the street light working well for a long time. This helps avoid costly repairs and ensures the light stays efficient.
Routine Inspections: Check the street light led fixtures, led street light poles, and cables every month or quarter for any looseness, damage, rust, or tilting.
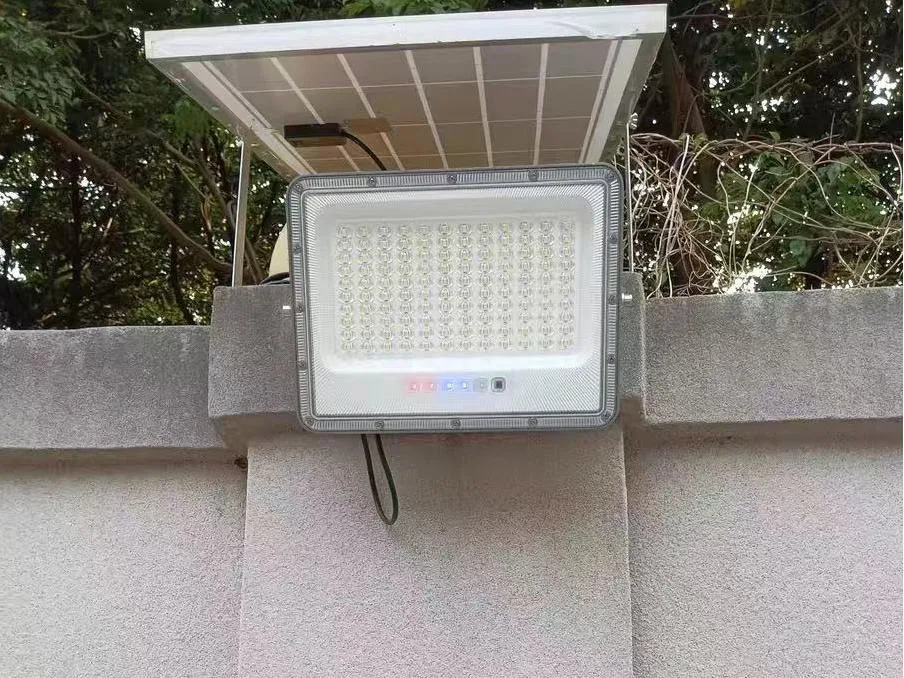
Cleaning: Clean the light fixtures regularly to remove dust and dirt, which helps maintain their brightness. For solar streetlights, clean the solar panel to make sure it charges fully.
Battery Check and Replacement (for solar streetlights): Check the battery’s health often. Be mindful of how long the battery lasts and replace it as the manufacturer recommends, so the energy storage and power supply stay efficient.
Conclusion
Installing a street light is a multi-step process that requires careful planning, the right equipment, and attention to detail. By following the steps outlined in this guide, you can install a street light that provides reliable illumination for years to come. Whether you’re working on a residential project or a commercial installation, taking the time to properly install and maintain street lights ensures safety, energy efficiency, and visibility for everyone in the area.
Make sure to assess the location, select the appropriate equipment, prepare the ground, install the pole, wire the fixture, and regularly maintain the light. With the right approach, your street light installation will be successful and provide lasting benefits to the community.
Call to Action
Ready to enhance the safety and visibility of your community with street lights? Follow this guide to ensure a successful installation, and don’t hesitate to consult with professionals for any technical aspects. Share this article with others who might benefit from learning how to install street lights efficiently and safely.