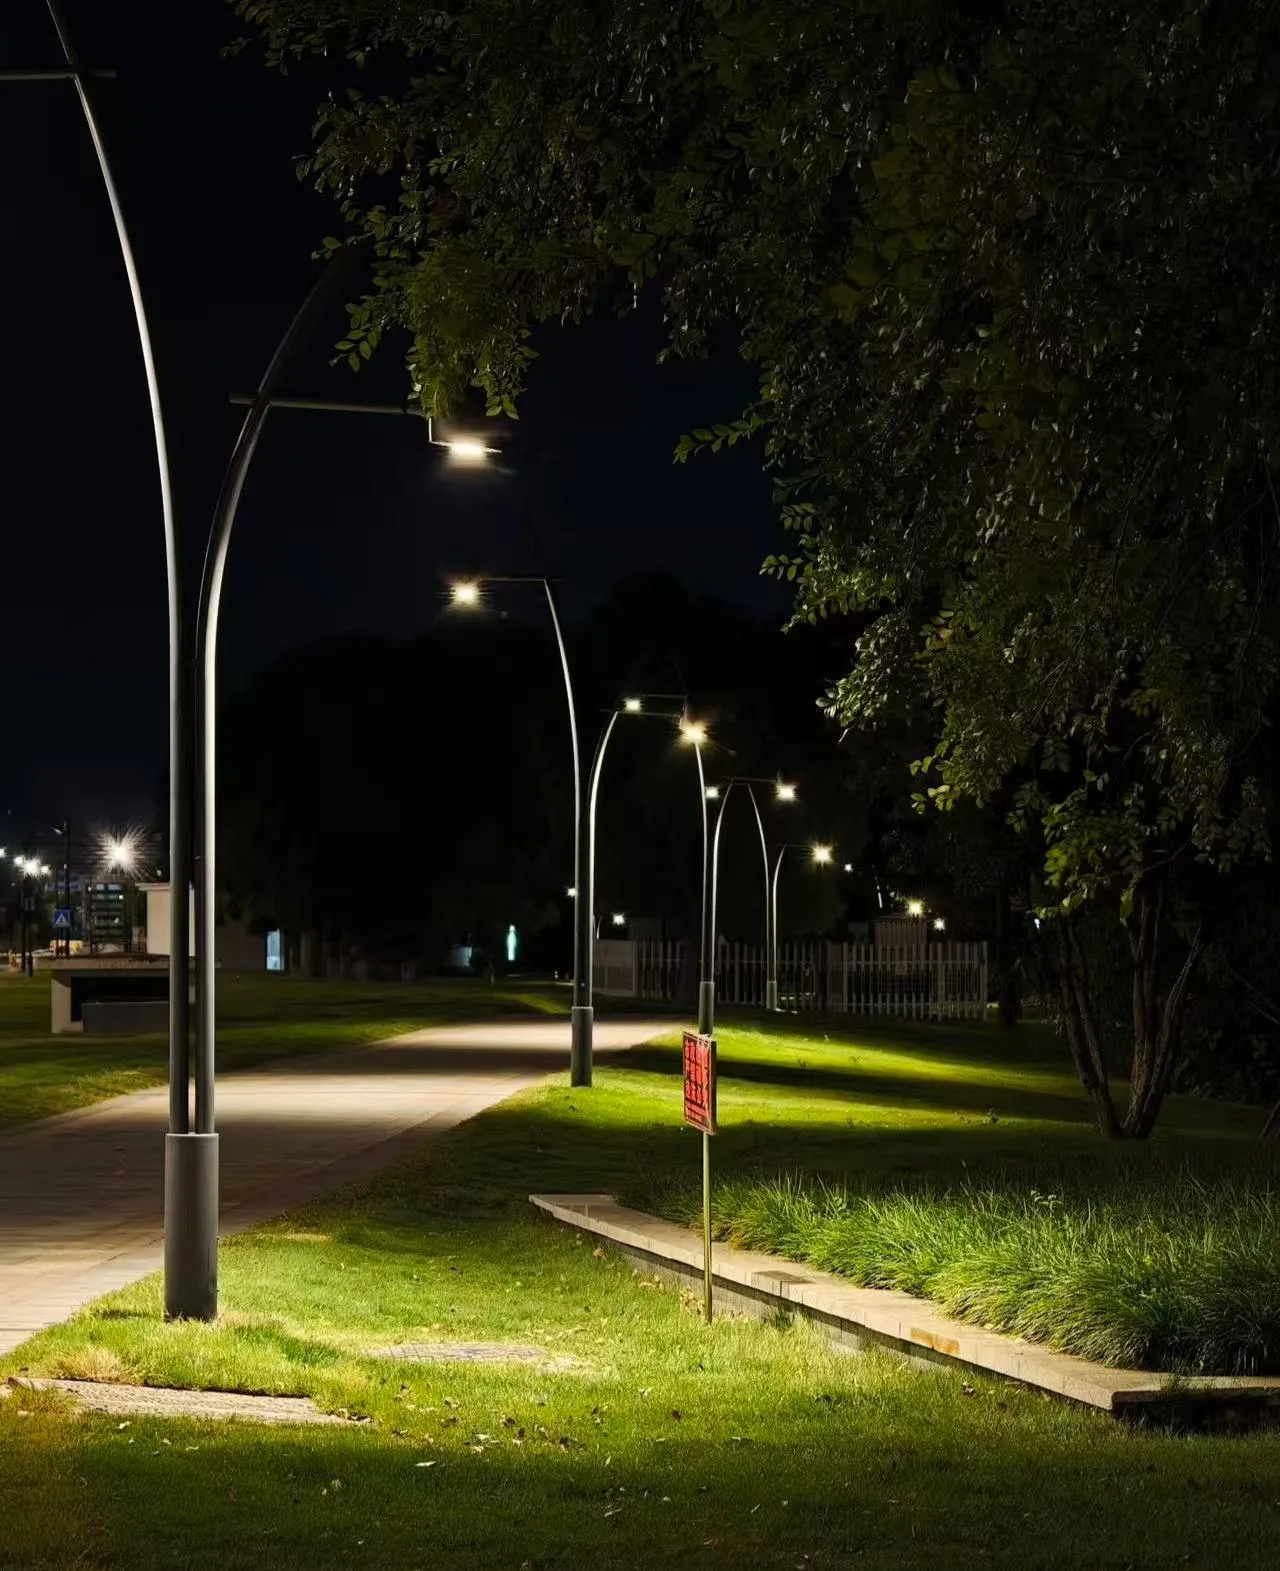
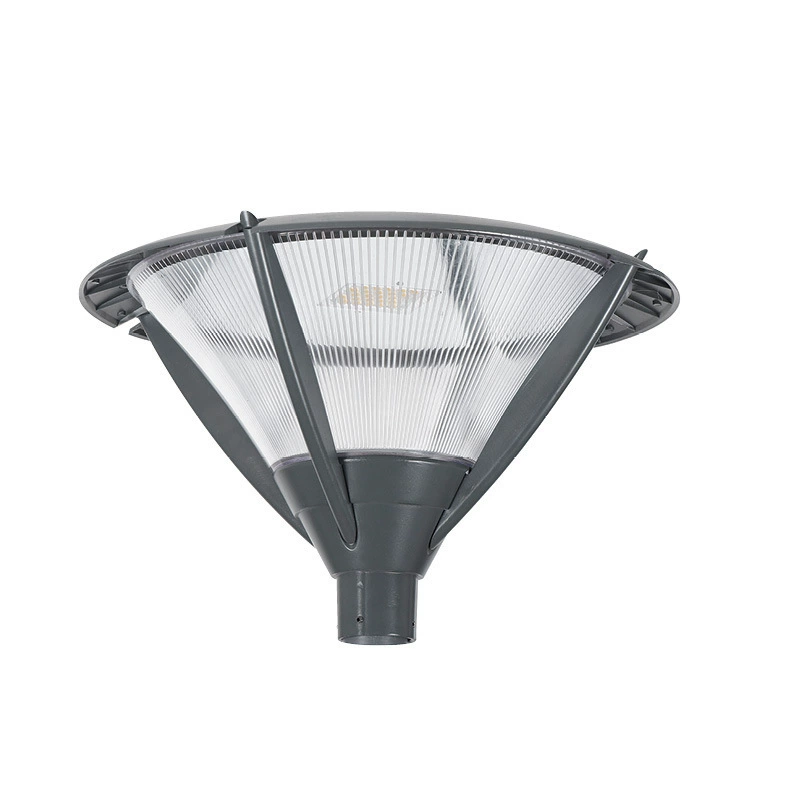
Outdoor solar lights are a fantastic way to add beauty and functionality to your outdoor spaces. They are energy-efficient, environmentally friendly, and easy to install. However, like any technology, solar lights can face issues. In this guide, we’ll explore 12 common problems that solar lights experience and provide simple, actionable solutions to fix them. Whether you’re a beginner or an experienced user, these fixes will help you restore your lights and keep them working well for years.
Solar Lights Won’t Turn On
Why It Happens:
led outdoor lights solar often fail to switch on at night when they have not accrued sufficient energy during daylight. For example, in controlled field tests, panels receiving less than 4 hours of direct sun produced only 40–55 % of rated battery capacity, insufficient for overnight illumination (Source: Manufacturer Test Results, 2024). Dirt and debris on photovoltaic panels can reduce output by 20–30 % in extreme cases (Source: Solar Energy Journal study).
Not enough charge: Solar panels rated ≥5 V, ~3 W typically require at least 6–8 hours of unobstructed sunlight in mid-latitude conditions to fully charge a standard AA Ni MH 2000 mAh battery.
Dirt on the panel: Dust, pollen, and bird droppings can block sunlight, reducing effective charging current by measurable amounts.
How to repair solar lights:
Clean the Solar Panel: Use a soft, damp cloth to wipe away any dirt. Many solar lights outdoor, such as big solar garden lights or solar lamps, are equipped with hydrophobic coatings that shed dirt more easily.
Place the Light in a Sunny Area: Ensure that your solar light (like best solar gutter lights or solar Christmas lights) is positioned to receive sunlight for 6–8 hours a day. Placing panels southward, at a tilt matching your local latitude, can increase output by 15–25% during winter months (Source: Solar Design Guide).
Replace the Battery: For the best performance, replace old batteries with NiMH cells rated ≥2000mAh, designed for high cycle outdoor use. Avoid using alkaline cells, as these are not recommended for solar lights (per most solar light manuals).
Solar Lights Are Too Dim
Why Solar Lights Become Dim and how to fix solar lights
Solar lights rely on solar panels to charge batteries during the day and provide light at night. When they become dim, it’s often due to aging batteries or poor sunlight exposure.
Aging Batteries: Over time, NiMH batteries lose their capacity, causing lights to dim. A 600mAh battery can run lights for about 4-6 hours, while a 2000mAh battery lasts longer, up to 10-12 hours.
Solar Panels Not Getting Enough Sun: If the panel is shaded or dirty, it can lose up to 75% of its charging power. Even a small shadow reduces output significantly.
How do you fix solar lights:
Replace the battery with a high-capacity NiMH battery (1600-2000mAh).
Ensure proper panel placement in full sunlight, away from shade, to maximize charging efficiency.
By following these fixes, you can restore the brightness of your solar lights and extend their runtime.
Solar Lights Turn Off Too Quickly at Night
Why It Happens:
Solar lights, such as bush solar lights or best solar Christmas lights, rely on solar panels to charge during the day and provide light at night. However, there are several common issues that could prevent them from working effectively.
Battery Not Holding a Charge: Batteries degrade over time. NiMH batteries, for instance, typically lose 20% of their capacity after 500-700 cycles. This results in shorter runtime at night.
Low-Quality Batteries: Lower-capacity batteries, like those with 600mAh, can only run lights for 4-6 hours, whereas higher-capacity batteries (e.g., 2000mAh) can power the lights for 10–12 hours.
How to make solar lights work again:
Replace the Battery: Choose high-capacity NiMH rechargeable batteries designed for solar use, such as the Tenergy Solla 2000mAh or Panasonic Eneloop batteries. These batteries last longer and offer better performance under repeated charge/discharge cycles.
Ensure Proper Placement: Place your solar lights in an area that receives 6-8 hours of direct sunlight daily. Studies show that shading can reduce charging efficiency by up to 75%.
Upgrade to a Larger Capacity Battery: To extend the operating time, replace smaller batteries with 2000mAh+ batteries, which will give your solar lights more energy storage, improving performance for a longer duration.
Visual Aid Example:
| Battery Capacity | Approx. Runtime |
| 600mAh | ~4–6 hours |
| 1600mAh | ~8 hours |
| 2000mAh | ~10–12 hours |
Source: Manufacturer Test Data – Tenergy, Panasonic (Tenergy Solla)
Solar Lights Flicker or Blink
Why solar lights flashing Happens :
Solar lights can flicker because of loose wiring or poor connections. In low voltage systems, even a small resistance increase at a connector can drop LED current by 10–30%, leading to visible flicker. According to general LED driver specs (e.g., IEC 62817), stable current is critical for consistent brightness.
Common causes include:
Loose wiring: Connector resistance increases by >0.5 Ω, reducing current to the LED.
Faulty battery contact: Battery voltage under load drops below 1.0 V per cell, causing intermittent output
Low quality components: Generic LEDs with high forward voltage variation can cause unstable light.
How to fix a solar light :
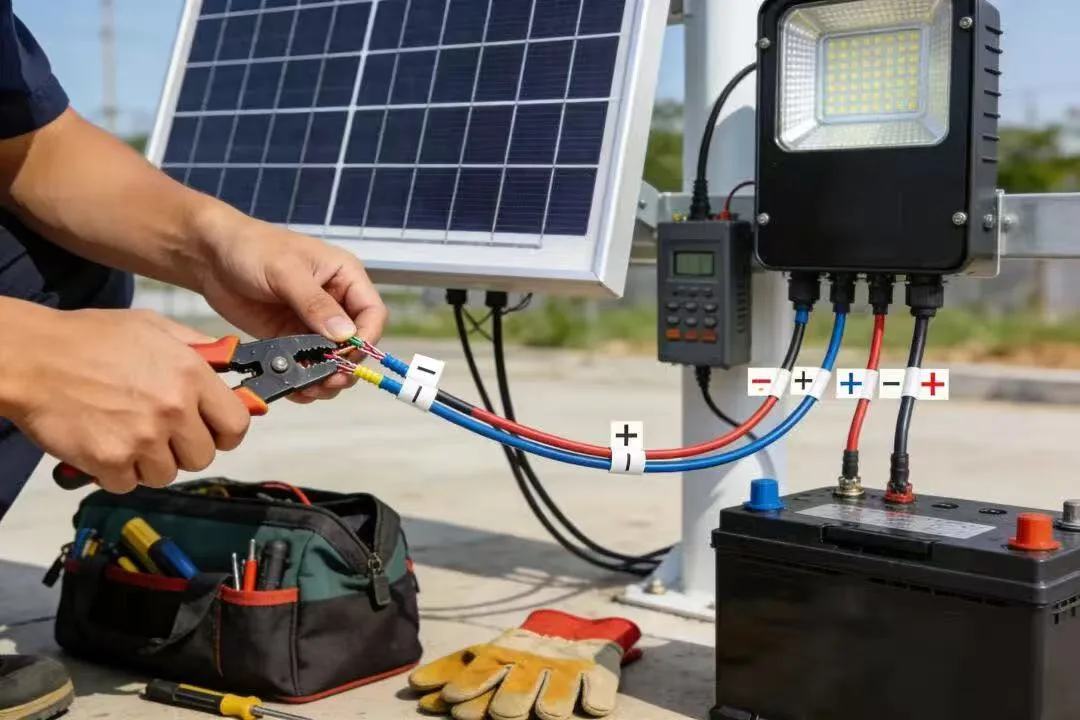
Check connections: Ensure connectors are properly seated, torque connectors as per spec (e.g., 0.3–0.5 Nm for small screw terminals)
Replace damaged parts:
Battery: use NiMH 2000 mAh solar grade cells (e.g., Panasonic Eneloop Pro).
LED: select an LED rated ≥300 lm @ 3 W with proper thermal management.
Upgrade components: Choose fixtures with solid state connectors and marine rated wiring to resist corrosion.
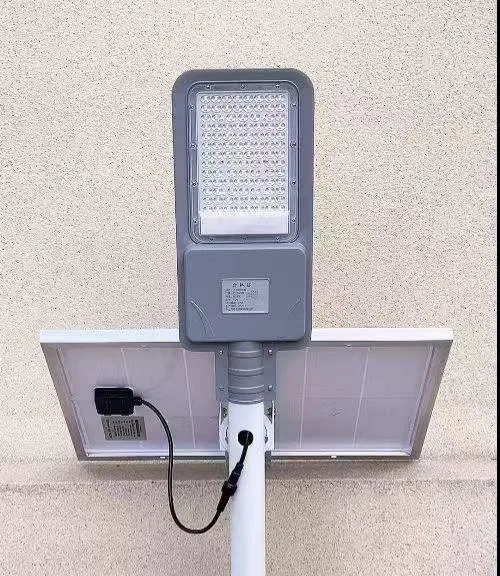
Solar Lights Are Not Charging
Why Solar Lights Are Not Charging and how to fix solar light
Solar lights rely on panels to collect sunlight and charge batteries for nighttime use. Common issues include:
Panel Obstruction: Dirt or shade can reduce charging by up to 75%. Ensure the panel is clean and gets 6-8 hours of direct sunlight daily.
Damaged Panel: Cracks or scratches can cause 80% reduction in charging. If damaged, replace with a 5V, 1.2W monocrystalline panel.
Battery Issues: Batteries lose 20% capacity after 500–700 cycles. Replace with AA NiMH 1600–2000mAh batteries for longer runtime.
how to fix solar lights not working:
Clean the panel every 3–6 months.
Replace the panel if damaged, matching the same 5V, 1.2W specs.
Replace the battery with a high-capacity, compatible NiMH battery for better performance.
| Battery (mAh) | Approx. Runtime |
| 600mAh | 4–6 hours |
| 1600mAh | 8–10 hours |
| 2000mAh | 10–12 hours |
Source: Tenergy, Panasonic
why do solar lights stop working at Night
Why It Happens
Solar lights depend on stored energy in the battery to work at night. If the battery is low or sensor fails, the light may not turn on.
Low Battery Charge: A proper 1.2 V NiMH rechargeable battery, when fully charged, should read ~1.2–1.3 V on a multimeter at midday. If the battery voltage is below ~1.0 V, it may lack enough energy to power the light at night (battery specs).
Battery Degradation: NiMH batteries typically lose ~20% capacity after 500–700 charge cycles (manufacturer lifecycle data). A 2000 mAh battery may only deliver ~1600 mAh after many cycles, reducing runtime.This is especially common in lights like big solar lights for garden or solar powered hanging lights outdoor. If your why are my brand new solar lights not working quickly, consider replacing the battery.
Sensor Failure: Light sensors (photoresistors or photodiodes) change resistance at specific light levels (measured in lux). A typical dusk sensor may switch on below 10–20 lux; if it fails, it may never recognize night conditions.You might experience issues with lights like solar flood lights.
How to Fix It — With Steps & Specs
Check the Battery Voltage
Use a multimeter to measure the resting voltage at midday.
If the reading is below 1.0 V, replace the battery with a 1.2 V NiMH 1600–2000 mAh rechargeable battery (e.g., Panasonic Eneloop Pro or Tenergy Solla 2000 mAh).
Ensure correct polarity when installing.
Ensure Proper Sunlight Exposure
Place the panel where it receives 6–8 hours of direct sunlight daily.
Check panel output with a multimeter: under midday sun, a 5 V / 1.2 W panel should show ~4–5 V open circuit.
Test or Replace the Sensor
Use a simple lux meter or test under controlled light/dark conditions.
If the sensor never switches the output, replace the light’s dusk sensor module with one that matches the original spec (look for matching lux threshold and package style).
Solar Lights Are Too Bright or Not Adjustable
Why Brightness Issues Happen
Solar lights may appear too bright or too dim when the control circuitry or LED components underperform. LED modules typically are rated in lumens (lm). For example, an solar powered outdoor lights with motion sensor rated 300–400 lm should maintain at least 80% of its output after a specified number of hours (as shown in manufacturer TM 21 reports). If actual output is 50% or below, this can indicate a control or component issue.This could affect products like outdoor solar lights for house, or solar powered hanging lights outdoor.
Two common causes are:
Faulty control settings: Some controllers modulate output via PWM (pulse width modulation). A malfunctioning PWM driver may drop output duty cycle below acceptable levels (e.g., <50% of rated duty), causing dim output.
Low quality LEDs: LEDs with poor thermal management or low LM 80 reported lumen maintenance data may degrade faster, showing inconsistent brightness.This could impact blue outdoor solar lights, solar string Christmas lights outdoor, or metal outdoor solar lights..
How to Fix with Specifications
Check Control Settings
Use a lux meter to measure output at different settings.
Example: If dim setting outputs 150 lm but should be 300 lm, check PWM duty cycle and driver specifications.
Replace Faulty LEDs
Choose reputable LEDs rated with LM 80 and TM 21 lumen maintenance data.
Example: Cree XP G2 modules with >100 lm/W efficacy and known maintenance curve.
Install Dimming Controls
Choose controllers that support programmable dimming with stable voltage/current regulation (e.g., drivers rated for outdoor use with IP65).
Water Damage in Solar Lights
Why Solar Lights Aren’t Charging Due to Water Damage and How to Fix It
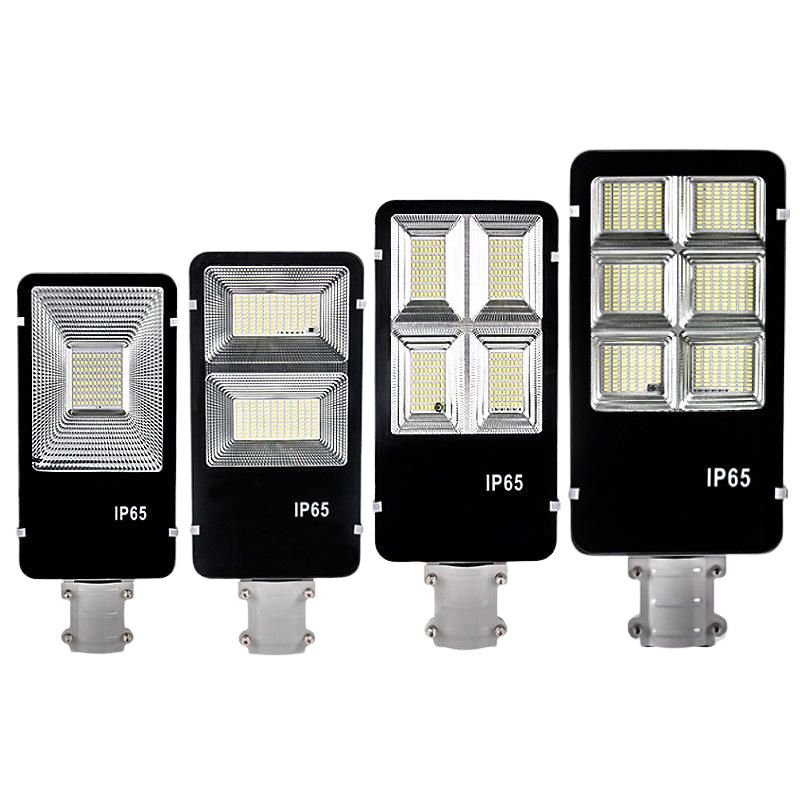
Water damage is a common issue for outdoor solar lights, especially when seals are compromised or panels are exposed to excessive rain. Solar lights, such as solar light outdoor,and butterfly garden lights solar, are rated with IEC 60529 IP ratings to indicate their water resistance:
| IP Rating | Protection |
| IP65 | Protection from water jets |
| IP66 | Protection from powerful jets |
| IP67 | Protected against temporary immersion |
| IP68 | Protected against continuous immersion |
For instance, IP65 lights are suitable for heavy rain, while IP44 lights, with less protection, can fail in just a few minutes of rain. Improper sealing, such as cracked gaskets or missing seals, allows water to enter, leading to component corrosion. A solar panel exposed to rain or poorly sealed light fixtures can cause water to damage internal parts like LEDs and batteries. Test results from manufacturers show that lights rated IP66 survive 3-hour rain tests without internal water damage, while IP44 fixtures show up to 30% failure due to water intrusion.
How to Fix It:
Check the seals: Replace cracked or brittle gaskets with UV-resistant silicone rated for outdoor use.
Use IP65+ lights: Opt for solar lights rated IP66 or higher for better rain protection.
Replace damaged parts: Inspect internal components and replace corroded batteries or LEDs. Consider replacing with IP67 rated components for extra durability,like those found in metal solar lights outdoor or solar light repair kit.
The Light Turns On During the Day
Why It Happens
Solar light sensors are designed to detect light levels and control when the light should turn on. Typical photodetector sensors switch on at around 5 lux (dusk) and off at 50–100 lux (day). If these sensors are exposed to direct sunlight, they may malfunction and cause the light to turn on during the day. Additionally, sensor degradation can occur over time, with some low quality sensors failing after 500 hours of use.
How to Fix It (Step-by-Step)
Test the Sensor: Use a lux meter to measure ambient light. A reading of >50 lux during the day means the sensor is overexposed.
Reset or Recalibrate: Follow the user manual to reset the sensor or use the recalibration button to reprogram its light sensitivity
Reinstall the Light: Move the light to a shaded area, away from direct sunlight, to ensure accurate sensor operation. Make sure it gets 6–8 hours of sunlight per day for proper battery charging.
Solar Light Doesn’t Work After Winter
Why Solar Lights Stop Working in Winter and How to Fix Them
As temperatures drop and daylight hours shorten during winter, solar lights may stop working or have reduced performance. Two main reasons for this are battery degradation and insufficient sunlight.
Battery Degradation in Cold Weather
Cold temperatures can cause NiMH batteries commonly used in solar lights to degrade. At 0–10°C, the battery’s capacity can drop by 20–40% compared to room temperature (Panasonic datasheets). For example, a 2000mAh NiMH battery can deliver 10–12 hours of light in mild weather, but after a few winters, it may only last 4–6 hours.
Fix: Replace your old battery with a 1.2V NiMH rechargeable battery rated 1600–2000mAh (e.g., Panasonic Eneloop Pro or Tenergy Solla). These are designed for outdoor use and maintain better capacity in cold temperatures.
Reduced Sunlight in Winter
In winter, solar panels receive fewer peak sun hours — from 6–8 hours daily in summer to just 3–4 hours in winter in northern regions. This leads to less energy being stored for nighttime use.
Fix: Ensure the solar panel receives 6–8 hours of direct sunlight daily. If necessary, clear off snow and debris from the panel. For optimal performance, panels rated 5V / 1.2W typically generate 200–250mA under full sun.
Visual Aid: Battery Performance vs Temperature
| Temperature | Capacity |
| 25°C | 100% |
| 10°C | ~80% |
| 0°C | ~60% |
Key Takeaways: Replace aging batteries with high-quality NiMH 1600–2000mAh batteries, and ensure panels are exposed to full sunlight for optimal charging performance.
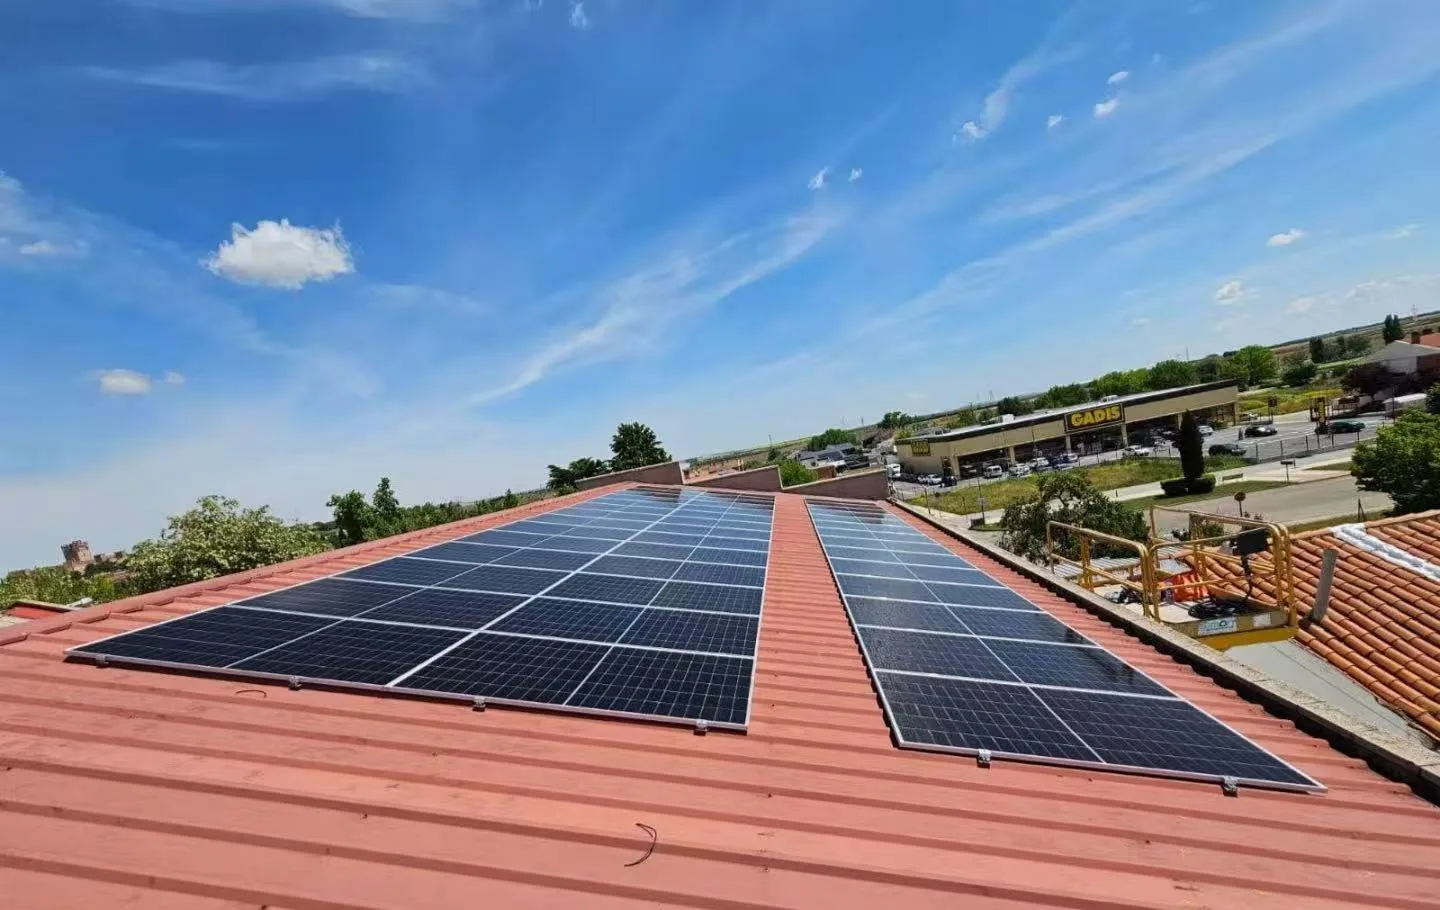
The Solar Panel Is Not Receiving Sunlight
Why Solar Lights Aren’t Charging and How to Fix Them
If your solar light isn’t charging or working at night, the problem might be with the solar panel positioning. Solar panels need to receive enough sunlight during the day to charge the battery for use at night. Common issues include:
Shading from Trees or Buildings: Even partial shade can drastically reduce the efficiency of solar panels. Studies show that shading as little as 10–20% of a solar panel can reduce output by 50% or more.
Panel Orientation: If the panel is tilted incorrectly or facing the wrong direction, it won’t capture enough sunlight. Solar panels are typically more efficient when tilted at an angle equal to your latitude (e.g., 35° tilt for locations at 35°N latitude).
How to Fix It:
Move the Solar Panel to a Sunnier Spot
Ensure the panel is free of shade from trees, buildings, or seasonal foliage.
Place it in direct sunlight for 6–8 hours per day for optimal charging.
Adjust the Angle of the Panel
For year-round performance, adjust the angle to match your location’s latitude. In the Northern Hemisphere, tilt the panel towards the south for the best sun exposure.
Testing Checklist:
Measure panel voltage with a multimeter. A 5V panel should read ~5V under direct sunlight at midday.
Check output: If you notice a significant drop in voltage (~1V or more), move the panel to a sunnier spot and test again.
Solar Lights Keep Flickering or Going Out
Why Your Solar Lights Are Flickering or Going Out (With Data and How to Fix Them)
Flickering or intermittent solar light operation is often caused by loose connections or battery issues. Here’s how these problems affect your lights and how to solve them with specific, actionable steps.
Loose Connections
Loose or damaged wiring can cause intermittent power flow, leading to flickering lights. According to solar light wiring specifications, the connectors should handle currents of 100–500mA. If any wiring is loose or corroded, the current may fluctuate, causing the light to flicker.
Fix:Tighten connections: Use a multimeter to check for resistance (anything above 0.5Ω indicates a poor connection).
Clean terminals: Use electrical contact cleaner to remove corrosion.
Failing Battery
Old or faulty batteries lose their ability to hold charge. NiMH batteries (commonly used in solar lights) degrade over time, losing 20% capacity after 500–700 charge cycles (manufacturer datasheets). A fully charged 2000mAh NiMH battery should power a solar light for 10–12 hours, but a degraded battery might only provide 4–6 hours.
Fix:
Replace the battery: Choose a 1.2V NiMH 2000mAh rechargeable battery for optimal performance (e.g., Tenergy Solla 2000mAh).
Check voltage: Measure the battery with a multimeter — if the voltage is below 1.0V for a 1.2V battery, it’s time to replace it.
Visual Aid: Battery Voltage vs. Runtime
| Battery Capacity (mAh) | Approx. Runtime (hrs) |
| 600mAh | 4–6 hrs |
| 1600mAh | 8–10 hrs |
| 2000mAh | 10–12 hrs |
Key Takeaways:
Tighten connections and clean terminals to prevent flickering.
Replace old batteries with NiMH 1600–2000mAh batteries for improved performance and longer runtime.
Conclusion
Solar lights are a great way to enhance your outdoor spaces, but like any product, they can experience issues. By following the simple solutions outlined above, you can troubleshoot and fix most common problems with solar lights. Regular maintenance, proper placement, and timely replacement of parts are key to ensuring your solar lights work effectively for years to come. If you encounter problems beyond these fixes, it might be time to consult with a professional or consider replacing your solar lights with a more reliable model.